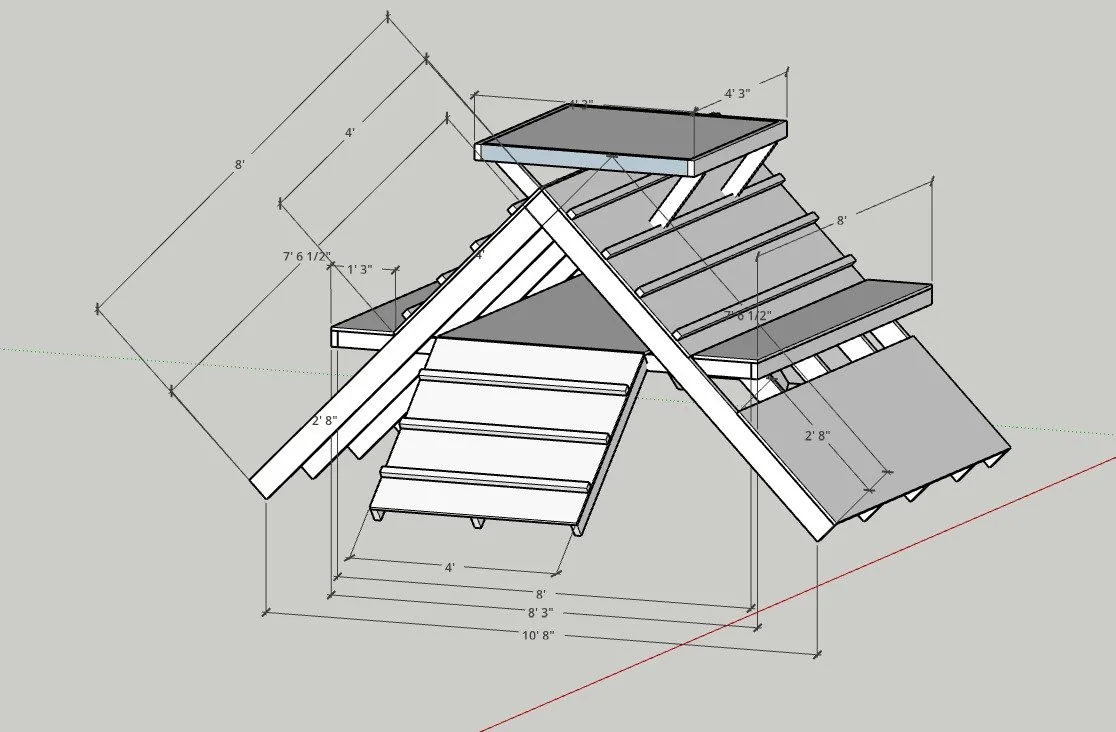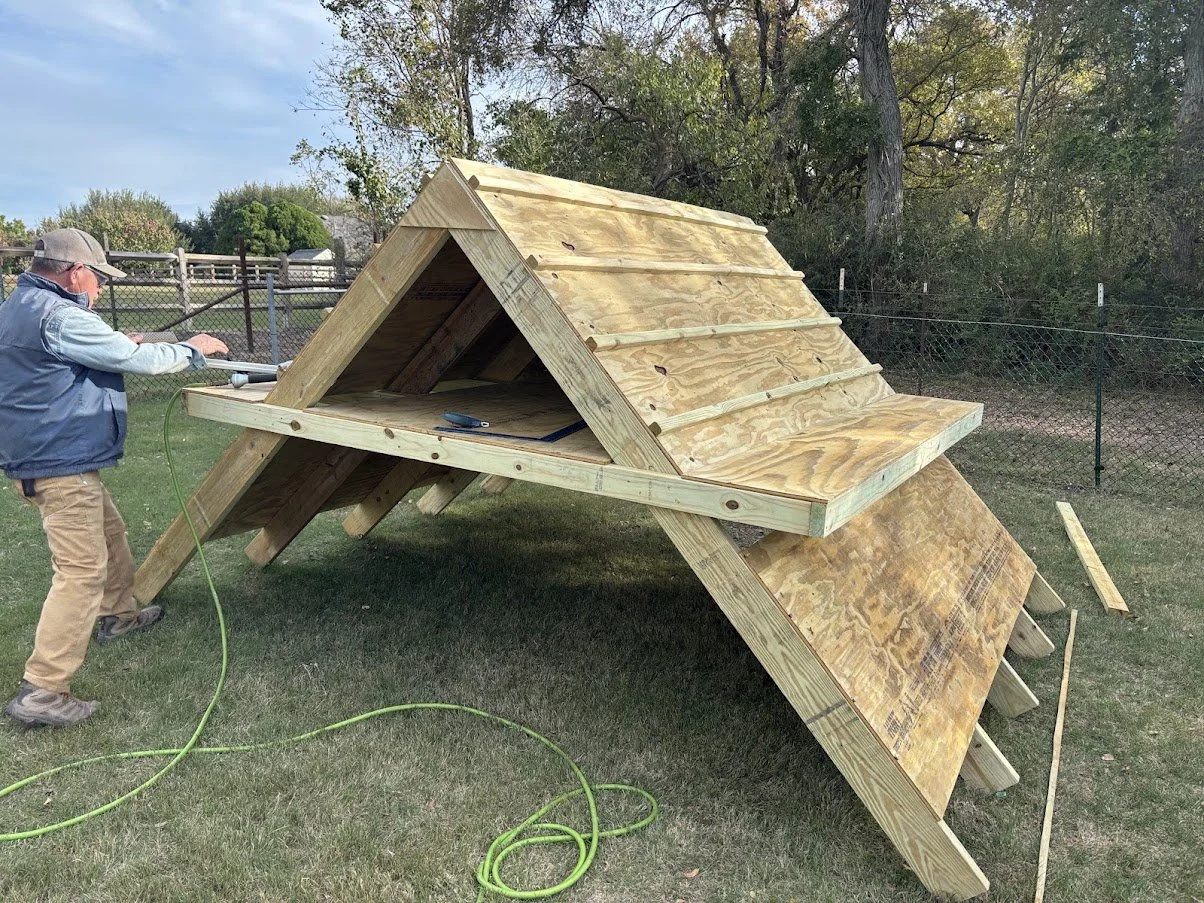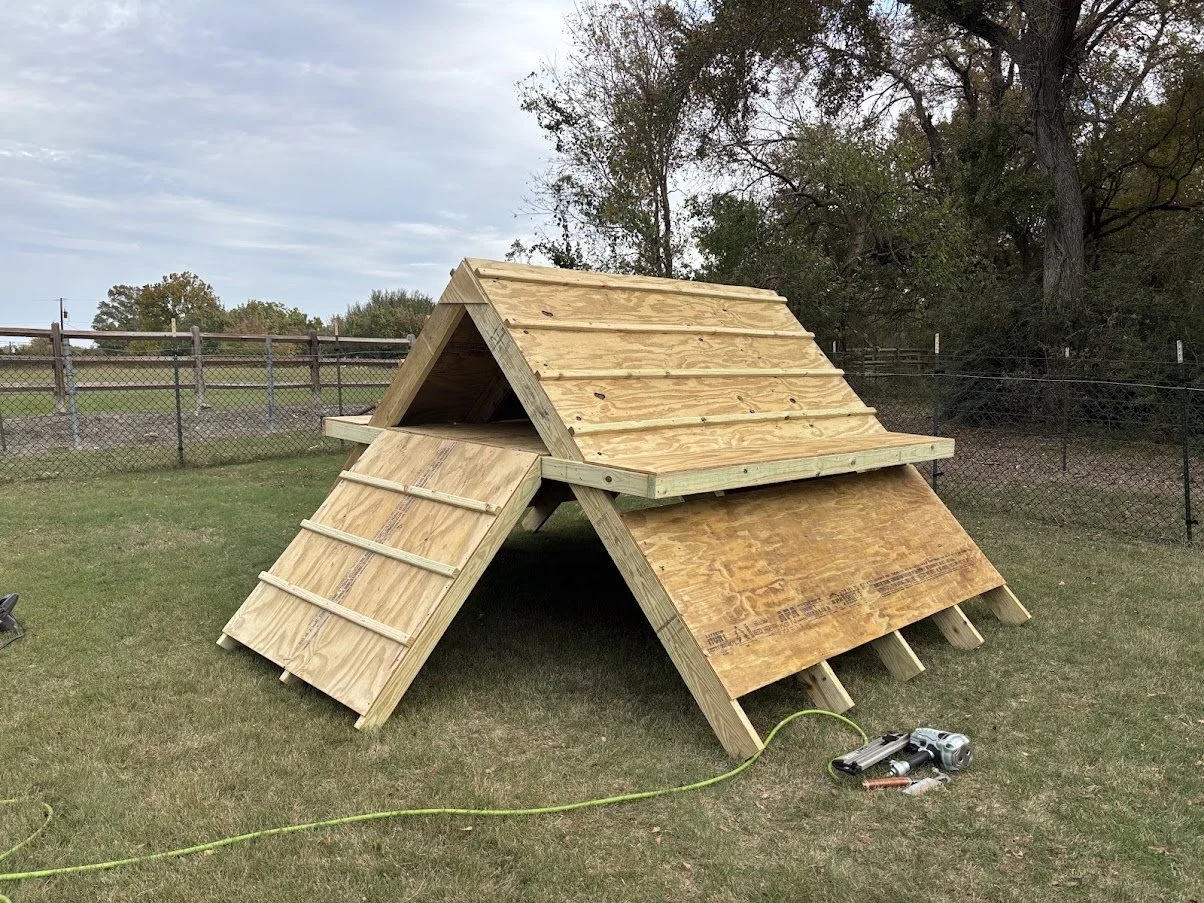
People ask a lot about our goat shelters. I first saw them at Blue Cactus Dairy Goats in AZ, and on quick study realized how brilliantly designed they were - few cuts, multiple places for shelter and a climbing struture on top of it. A great option for a small space and budget. I reversed “engineered” what we saw by replaying her you tube video 100 times. Dad and Mom built our first one, found it to be excellent, and built two more shortly after.
We just finished construction on our fourth and fifth A Frames this week, because it is really ideal for our herd. We now have five pens with their own housing that can be configured differently depending on our needs, with two additional birthing pens and a milking parlor (and a beauty salon that is also a backup birthing pen should the need arise.) He did make one modificiation to the design which I explain further down.
It took us six years to get to this point, and we will keep adding endlessly!
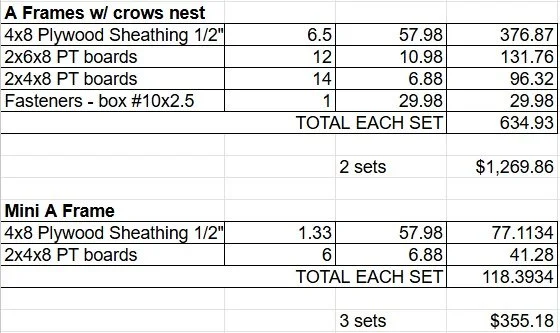
Below is the breakdown of materials we use to make the A-Frames as well as a step by step photo gallery to help. I didn’t photograph the in shop prep, so I will have to describe it. (I didn’t participate in that part.)
There are no instructions per say - but this should be enough to get any homesteader through the process.
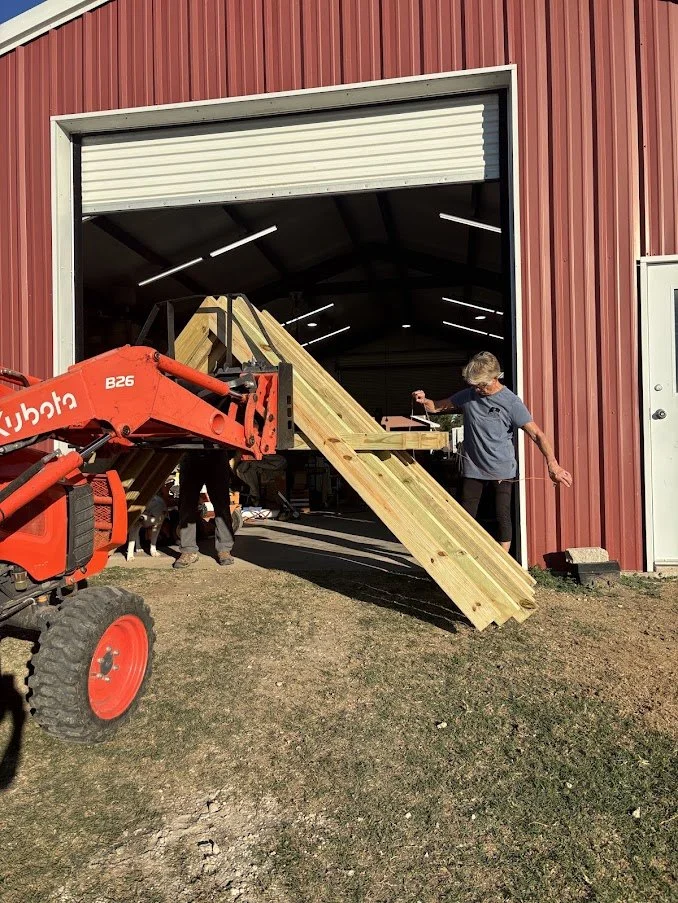
Dad cuts and prepares the pieces in the shop.
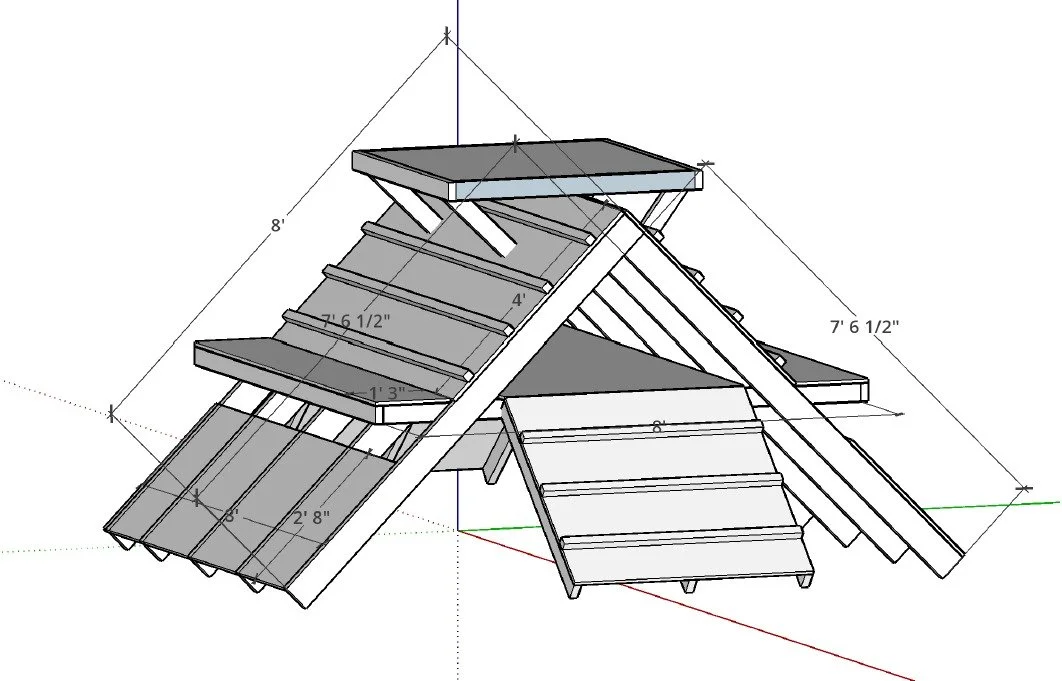
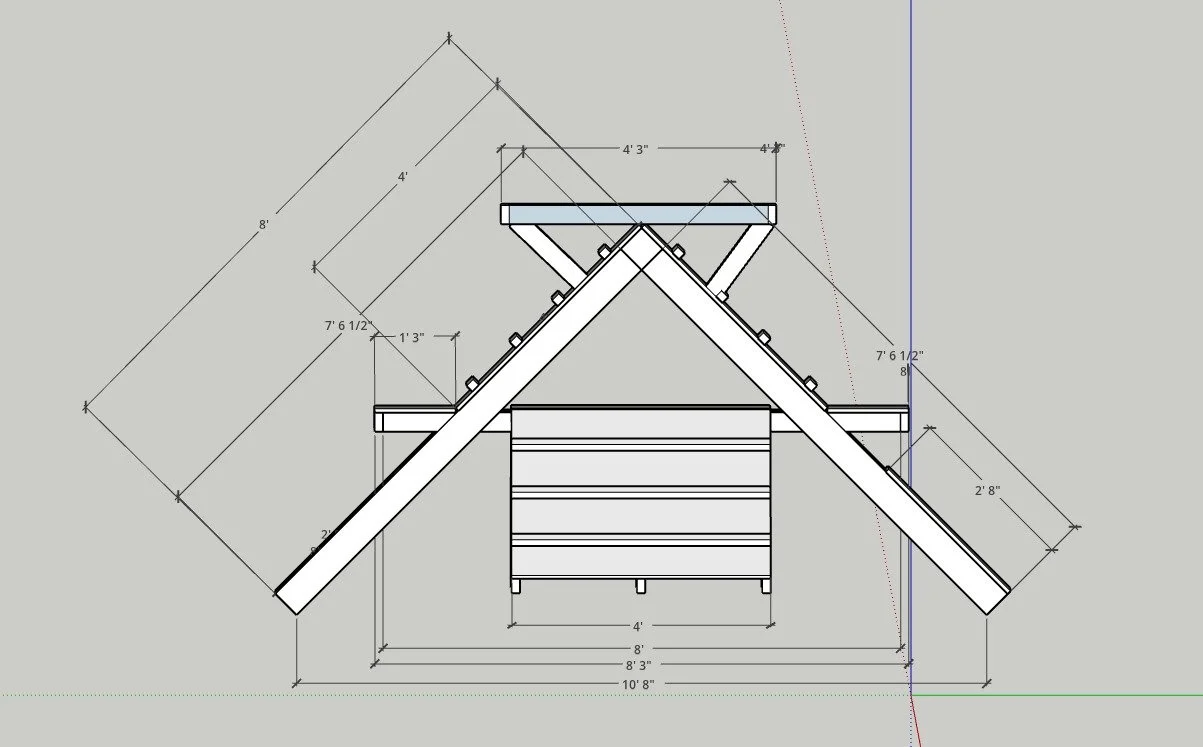
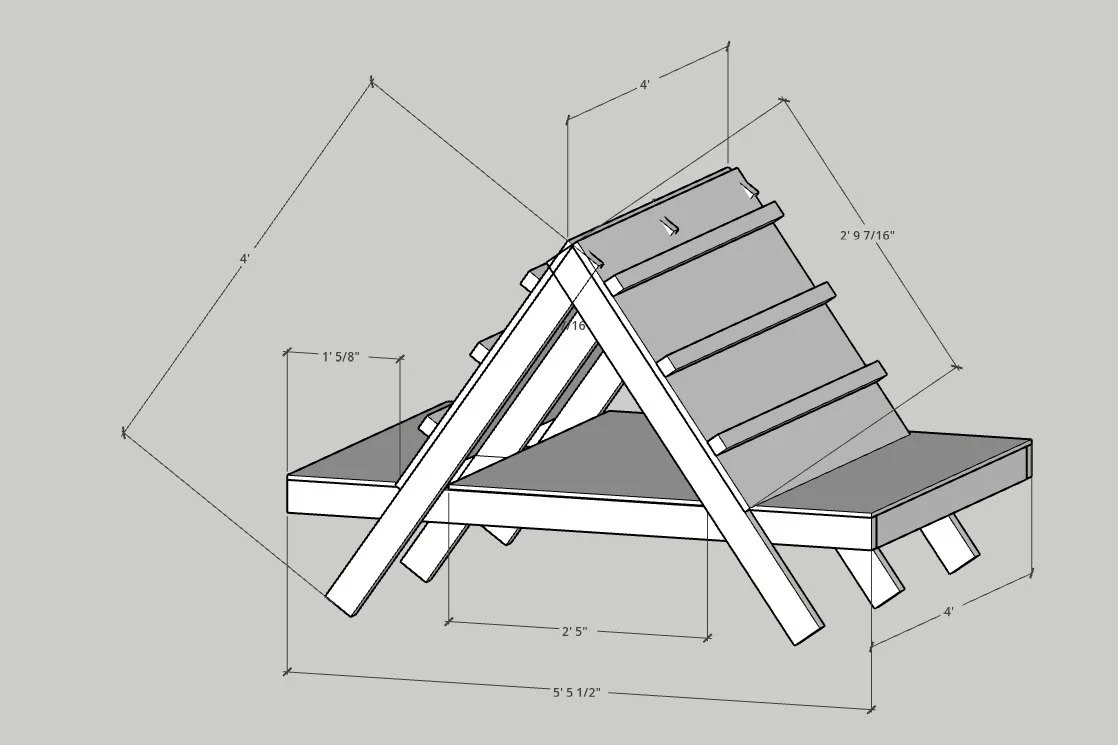
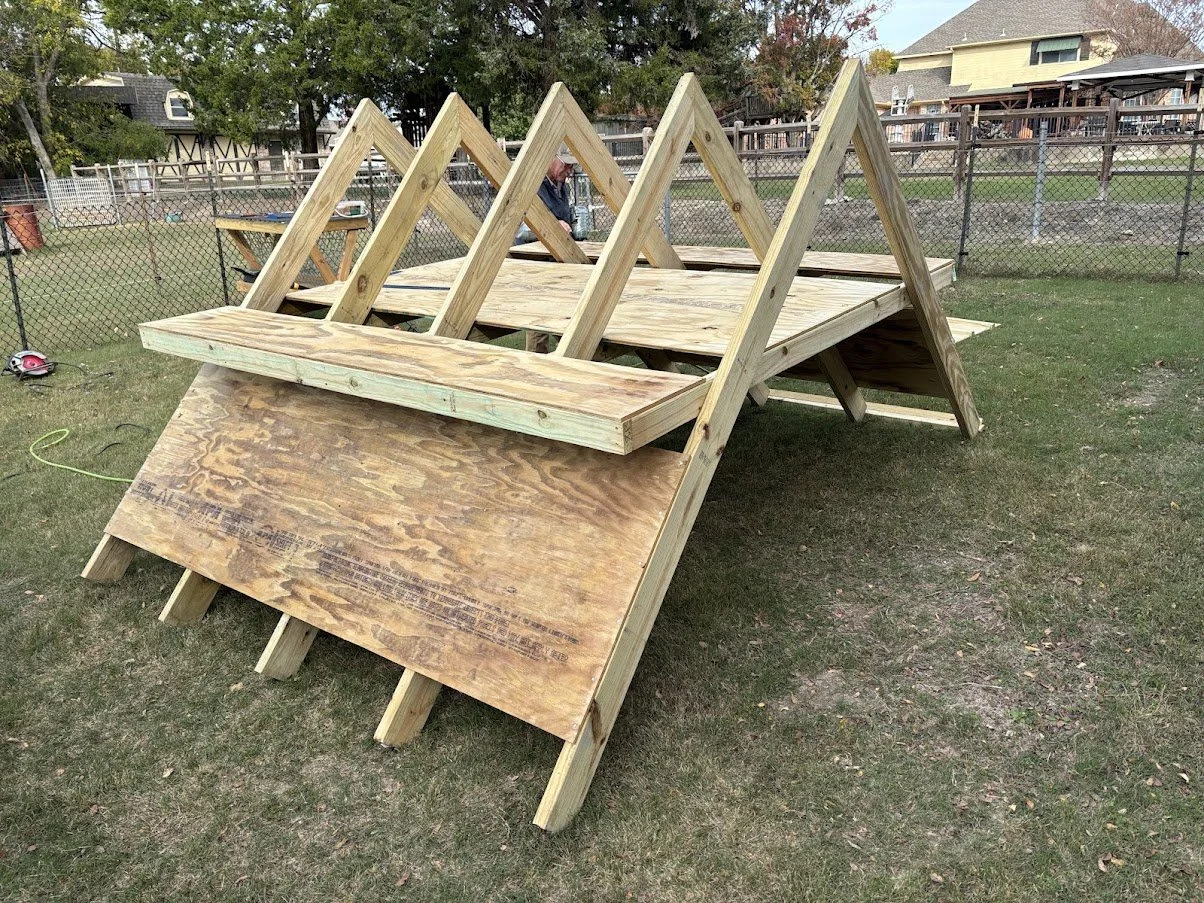
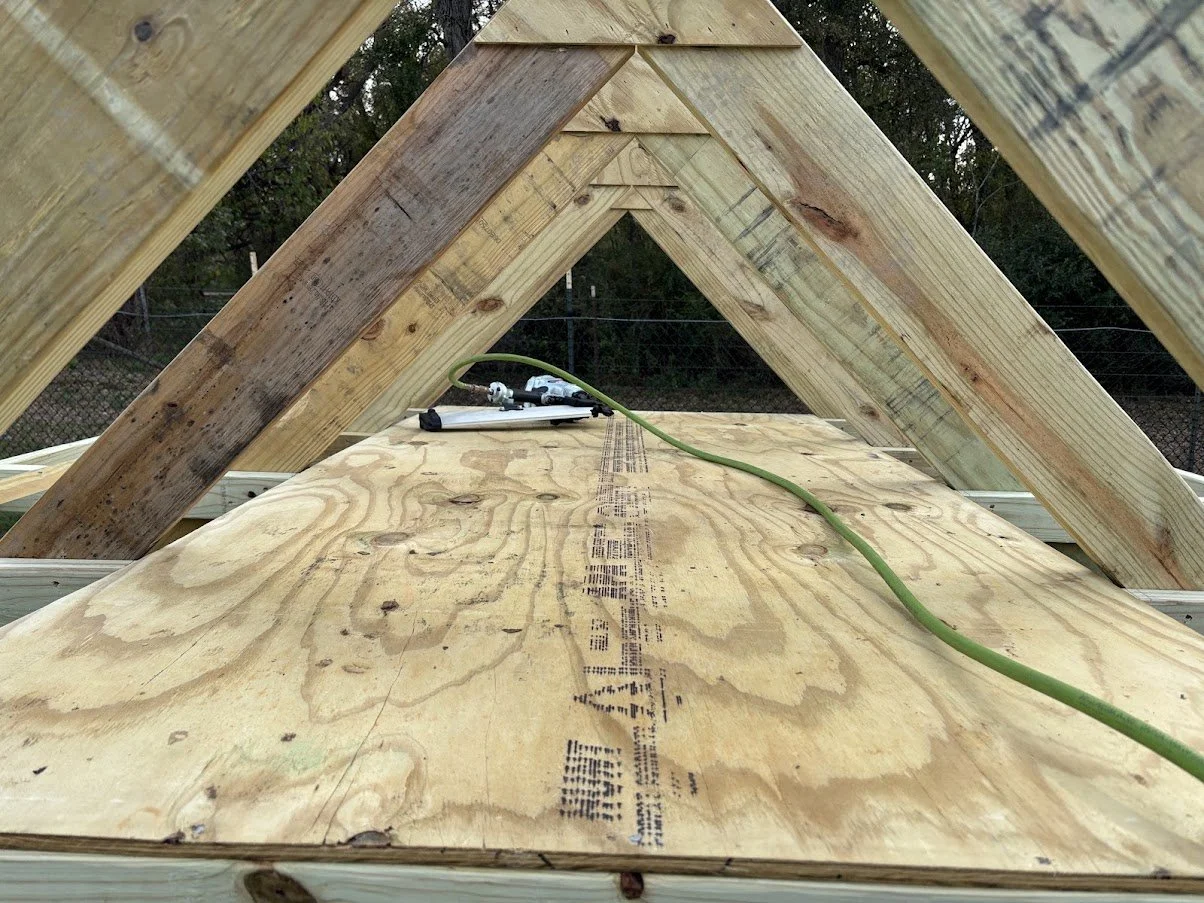
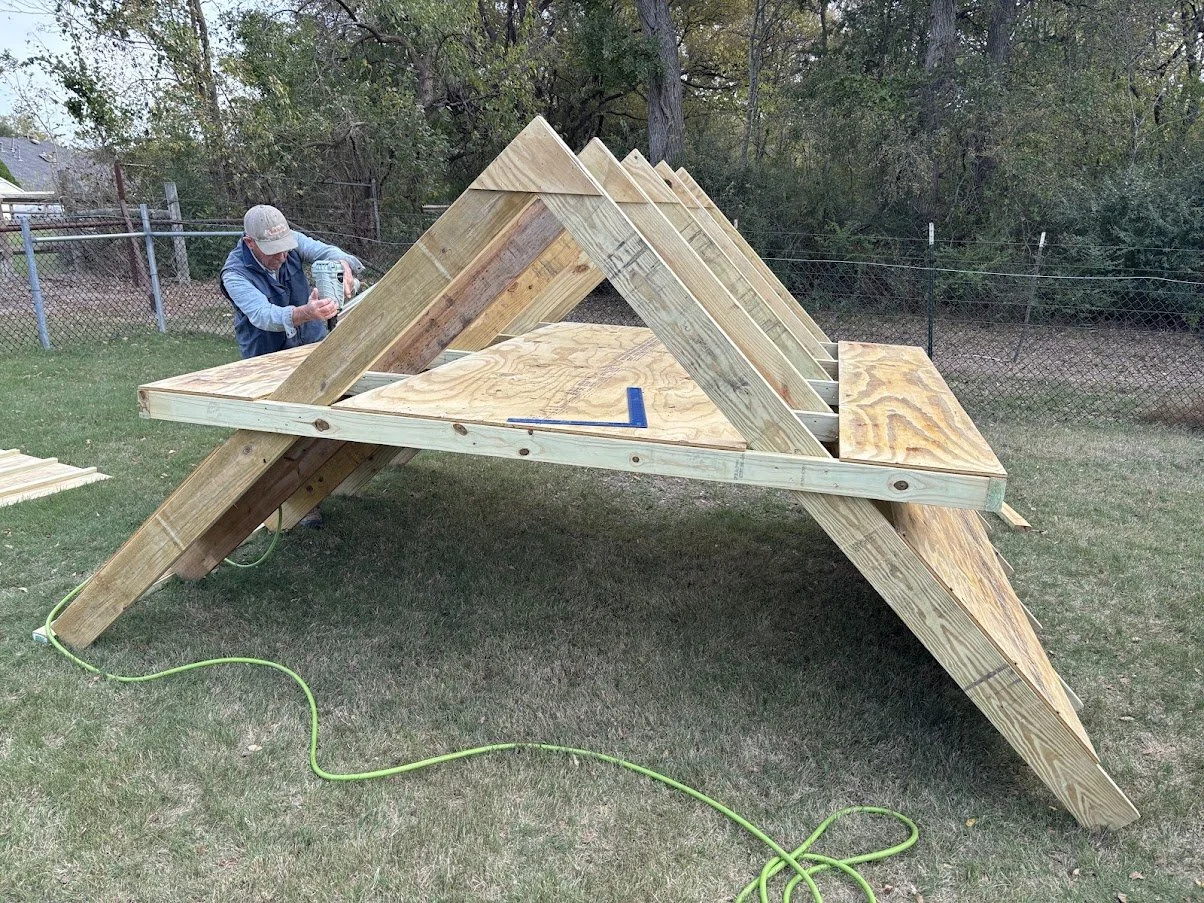
Frame: 5 joists made from 2×6×8 mitered at a 45 degree angle on one side. He uses small scraps of plywood to create a triangle at the top for additional support at attachment. A template on the ground made from a chalk line ensures he makes all five joists the same for each shelter. The 2×4 across the middle will serve as the floor of the structure - all attached with nails and staples.
Roof: Three 1×2×8 pieces attached onto a full size sheets of sheathing (4’x8’ x 1/2”) Two sets for each A Frame.
There are four in the picture, but you can skip the top ones - we realized that at the end.
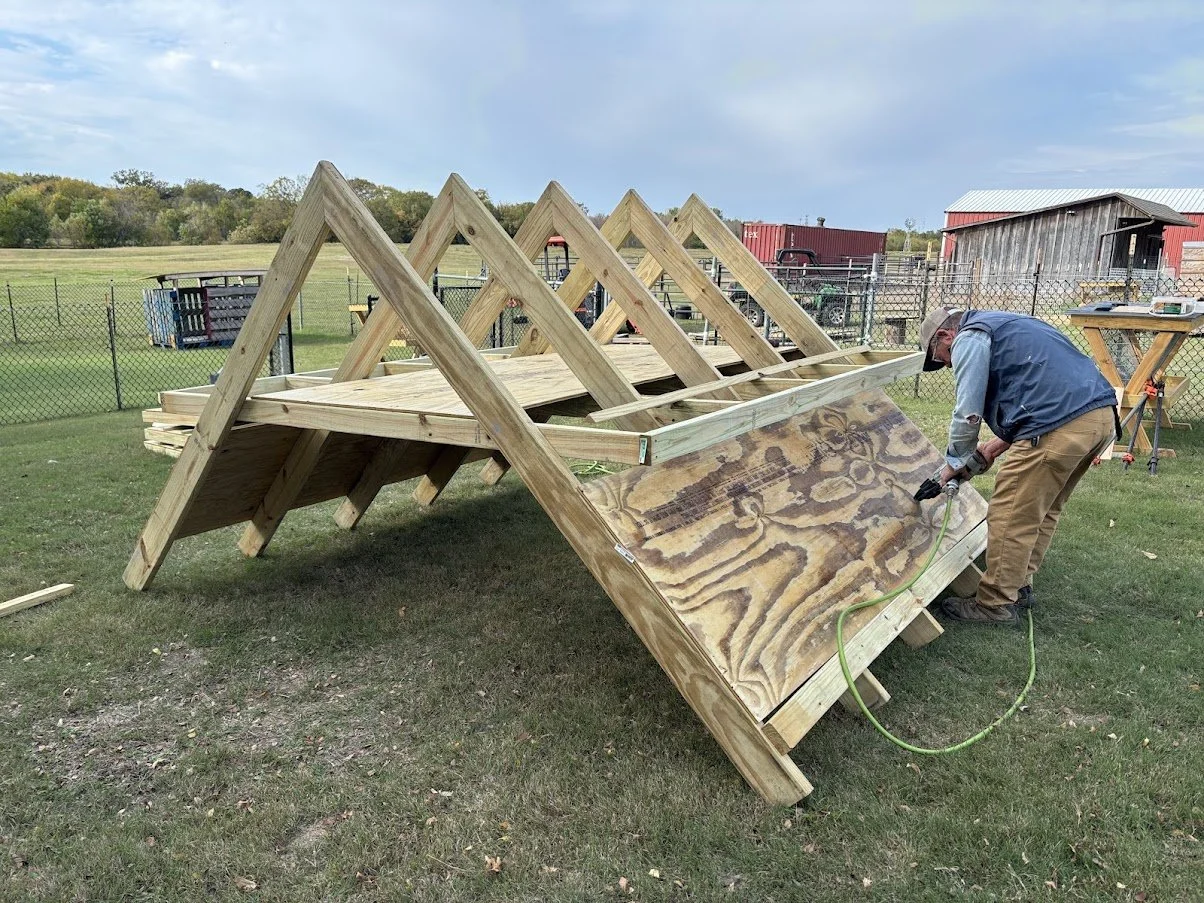
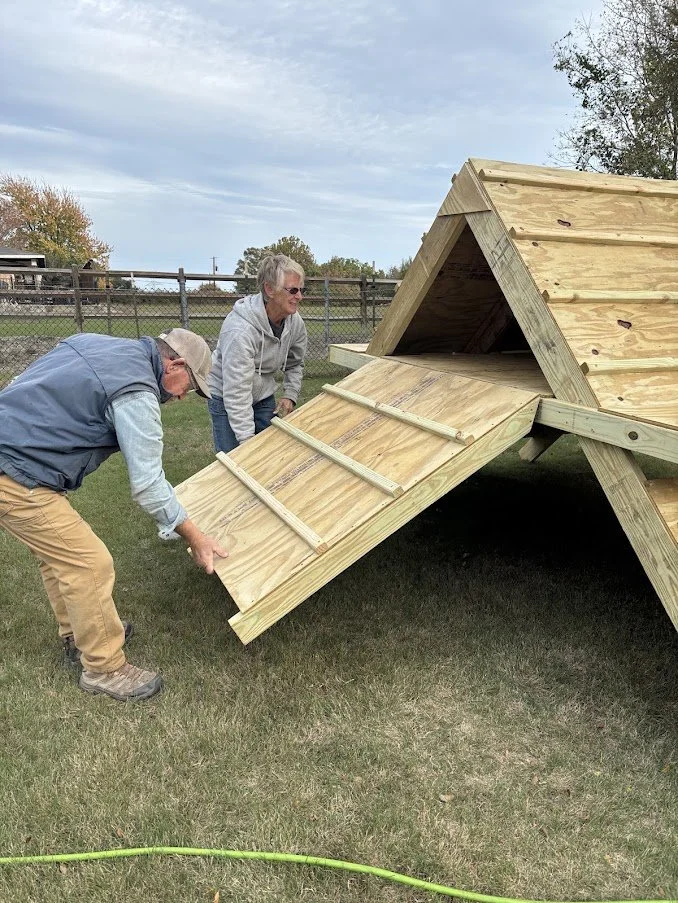
Two “Ramps”: Three 2×4s, a half sheet of sheathing each, and more 1 × 2 × 4’ rails.
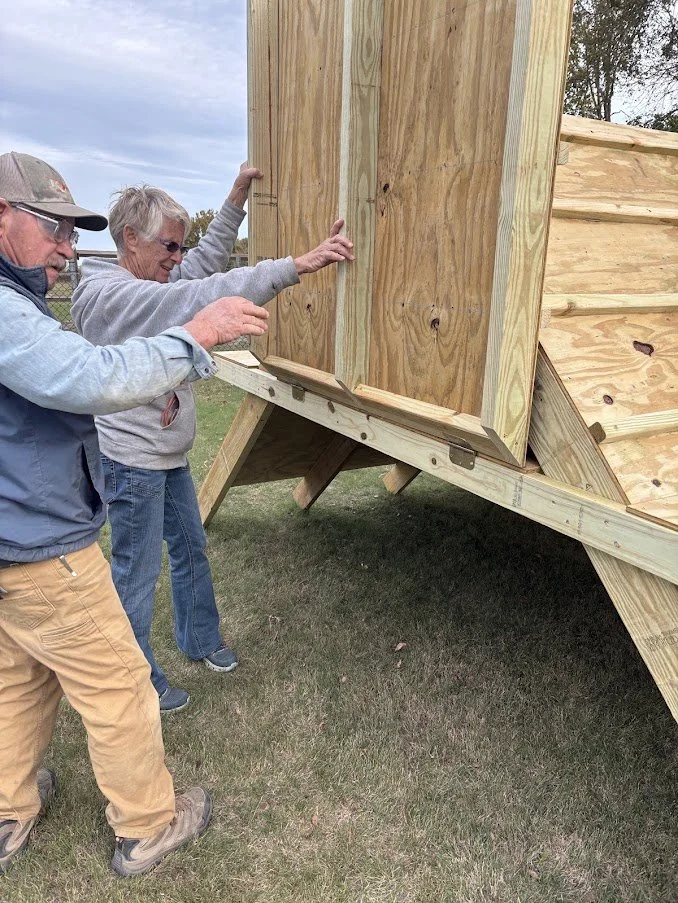
Here is where the modifcation came in- we slide pallets underneath the A Frames to keep the goats up off the ground - they prefer to lay on something. Mom found that she couldn’t get full size pallets underneath and was always on the hunt for small pallets to put there. This round Dad put a hinge on one of the end ramps so we can lift it up to get underneath. This will also be great for cleaning as well as to catch goats who are not in the mood for being caught - as it prooved to be expecially difficult to get under there and we always had to call the kids for assistance!
Floor, Bottom Sides, and Ledges: The inside floor is a full sheet of sheathing, the bottom and ledge sheets on either side are another two full sheets ripped down the middle - off center.
The crows nest is whatever you want it to be. We add ours later with whatever scrap we have around.
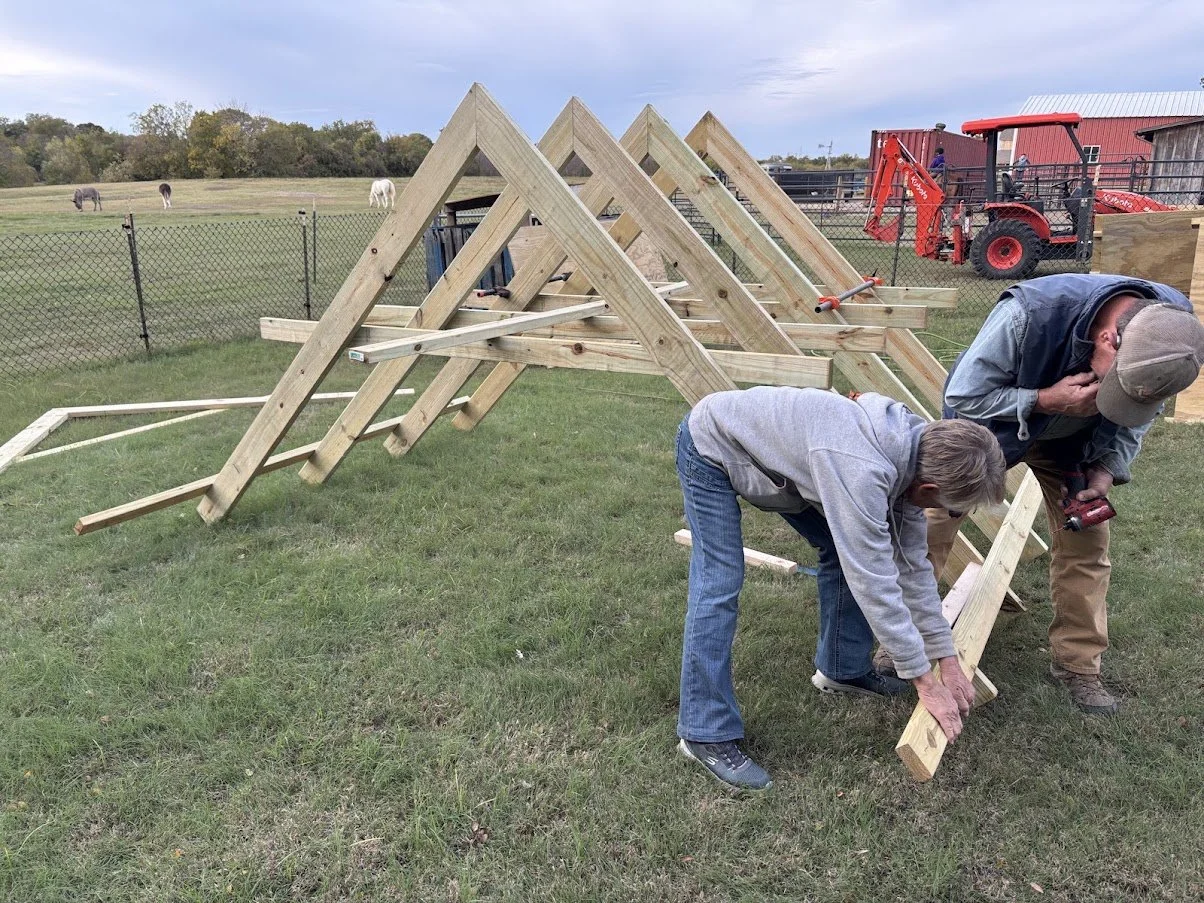
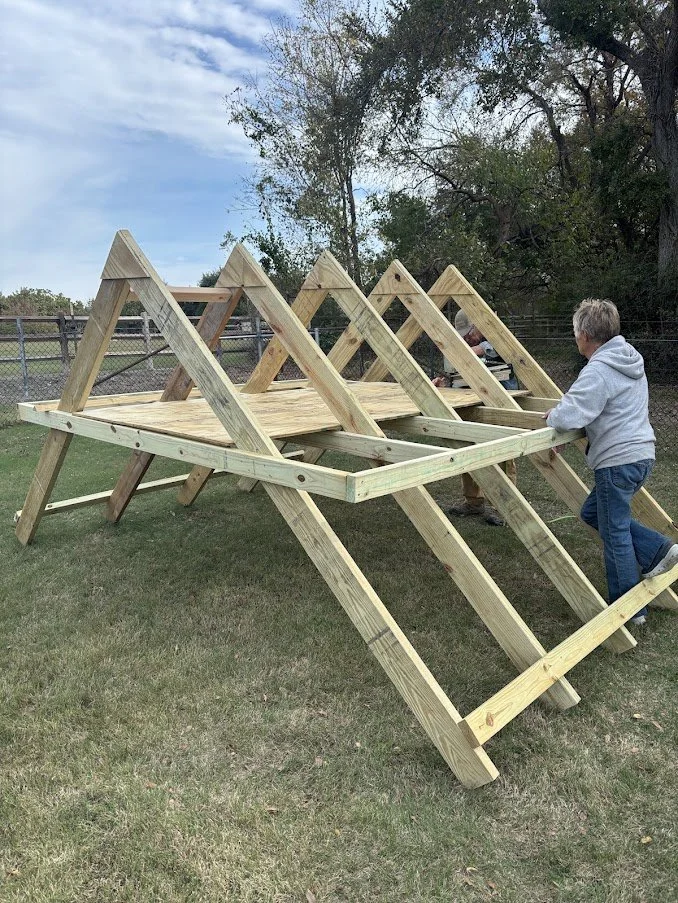
Once fabrication is complete, we move everything outside for assembly. The photos below show the steps and order we used to assemble. A few extra 2×4s and some lengths of wood to measure spacing between the joists, as well as a straight edge tool, nail gun and screw gun were all it took to put it together. We did have a skill saw Dad used on the spot to trim up a few joints that weren’t aligned. This was very imperfect wood, so he touched up as we went along.