
My Simple Pulse Was a Game Changer
I’ve been hand-milking miniature dairy goats for the past five years, and it has become one of my favorite parts of the day. There’s something incredibly satisfying about the quiet rhythm of the morning milking routine. It gives me a chance to slow down, connect with my animals, and start the day with a clear mind. In many ways, it has become a form of therapy.
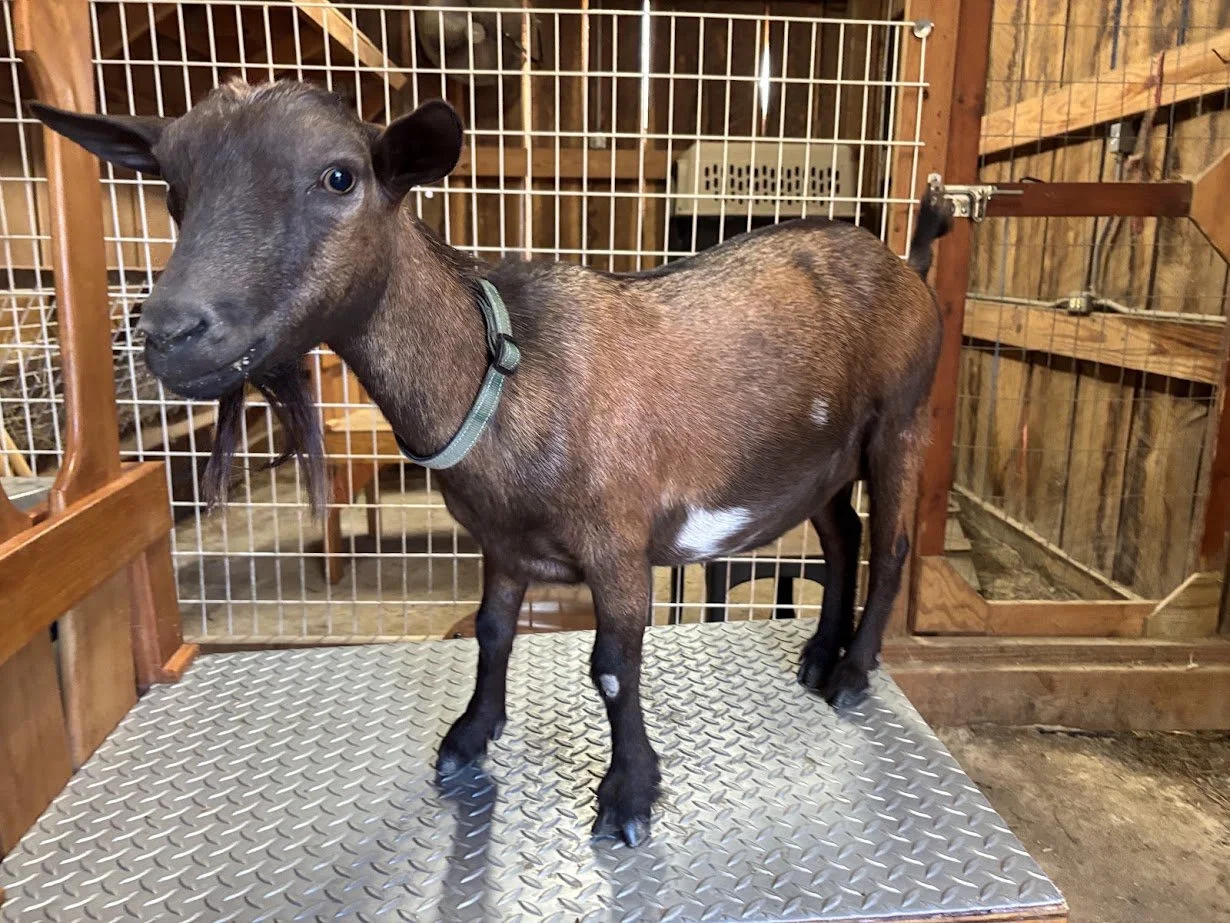
Martini on the Milking Stand
As I’ve gotten closer to my 50s, though, I’ve noticed a growing disconnect between what my mind enjoys and what my body can comfortably handle. While hand milking is relaxing mentally, my hands, wrists, and back have been telling a different story. Arthritis has made each session more difficult, and I found myself wondering how much longer I could keep up the routine I loved.
For about four months, I tried using a small hand pump. It helped a little, but not enough to make a meaningful difference. My hands still ached, and I wasn't saving much time.
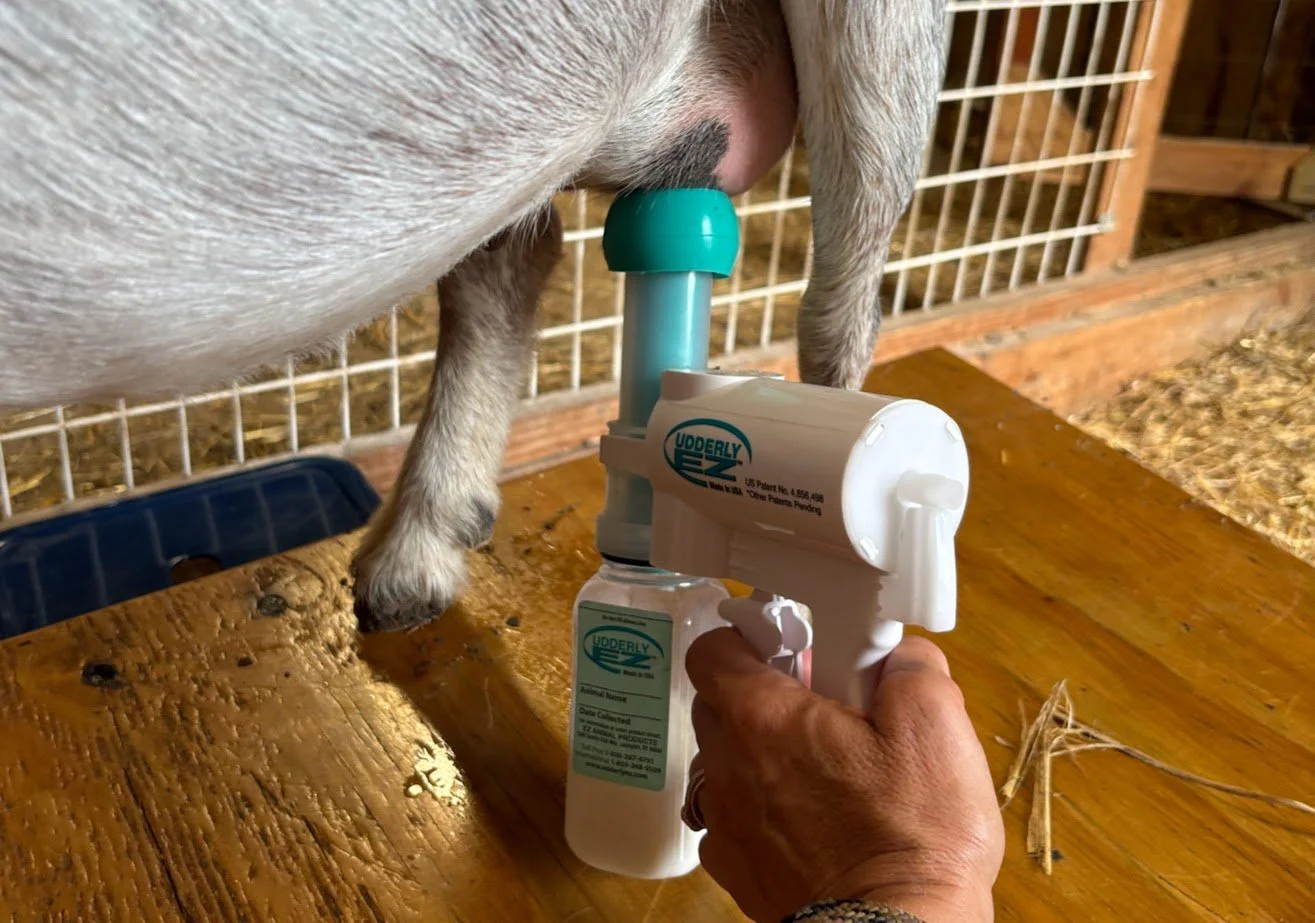
Udderly EZ Hand Milking Machine
You might be wondering how many goats I milk each day. It varies depending on the season and our family's needs, but on average I milk five does once a day. That provides plenty of fresh milk for our family of six, with enough left over to freeze for the cold winter months when we'd rather not be outside milking in December, January, and February.
Over the years, several goat friends have confidently told me that if you're milking fewer than four goats, it's easier to just milk by hand. Maybe that's true for some people, but it hasn't been my experience. Even before arthritis became an issue, hand milking several goats every day was physically demanding. Once your herd grows beyond a couple of milkers, those repetitive motions really start to add up.
That's what finally led me to purchase a Simple Pulse milking machine, and I can honestly say it has been one of the best investments I've made for our dairy routine.
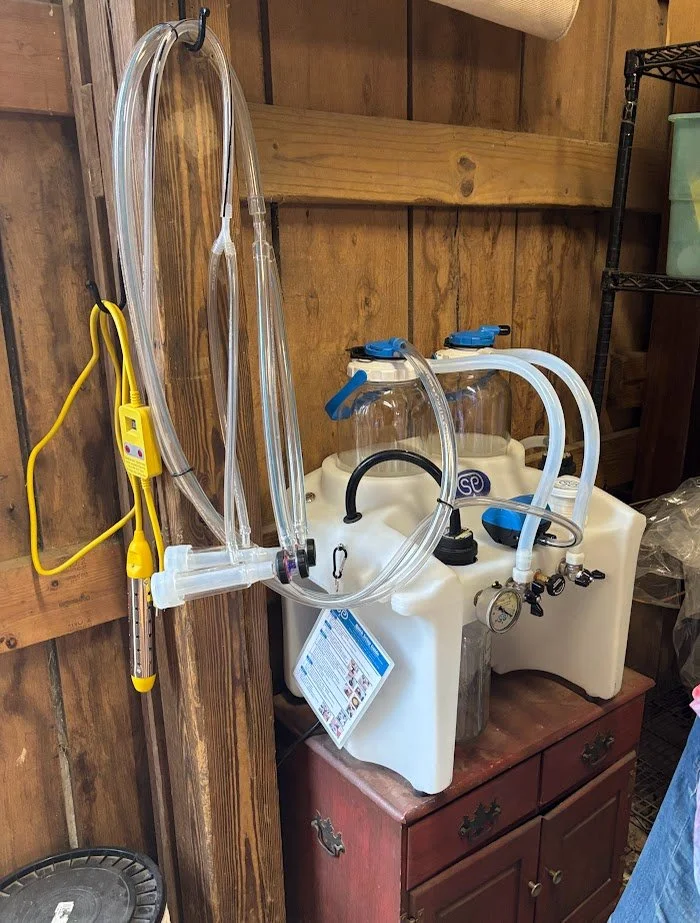
Simple Pulse Milking Machine Set Up
The difference was immediate.
My milking time has been cut by more than half, which means less time on the milk stand and more time for everything else that needs to get done around the homestead. The closed system also keeps the process cleaner and more sanitary than hand milking, giving me greater confidence in the quality of the milk we're storing for our family.
One unexpected benefit has been with the goats themselves. Because milking is finished so much faster, they don't have nearly as much time to stand on the milk stand eating grain. While lactating does certainly need extra calories, I'd much rather they get those calories from high-quality hay and alfalfa than from excessive grain.
Perhaps the biggest change, though, has been physical. I finish milking without sore hands, aching wrists, or a stiff back. Instead of stressing over the physical strain, I can simply enjoy the time with my goats again.
If you've been putting off buying a milking machine because you think your herd is too small, or because you've heard hand milking is always easier, I'd encourage you to reconsider. The large price tag was honestely the biggest hinderance for me, but I saved for it and now wish I hadn’t waited so long. For me, the investment wasn't about convenience as much as it was about making goat keeping sustainable for the long haul. So many people burn out too soon.
In the rest of this post, I'll walk you through exactly how to set up and operate a Simple Pulse milking machine, share the routine that works best for our miniature dairy goats, and offer a few tips that made the learning curve much easier.
How to Set Up and Use a Simple Pulse Milking Machine
One of the things I appreciate most about the Simple Pulse system is that it looks more intimidating than it actually is. The first time I unpacked it, I had hoses, jars, inflations, and fittings spread across the table, and I wondered if I'd made a mistake.
Thankfully, after one or two milkings, the entire process became second nature. Here's the routine I follow every day.
Step 1: Assemble the Machine
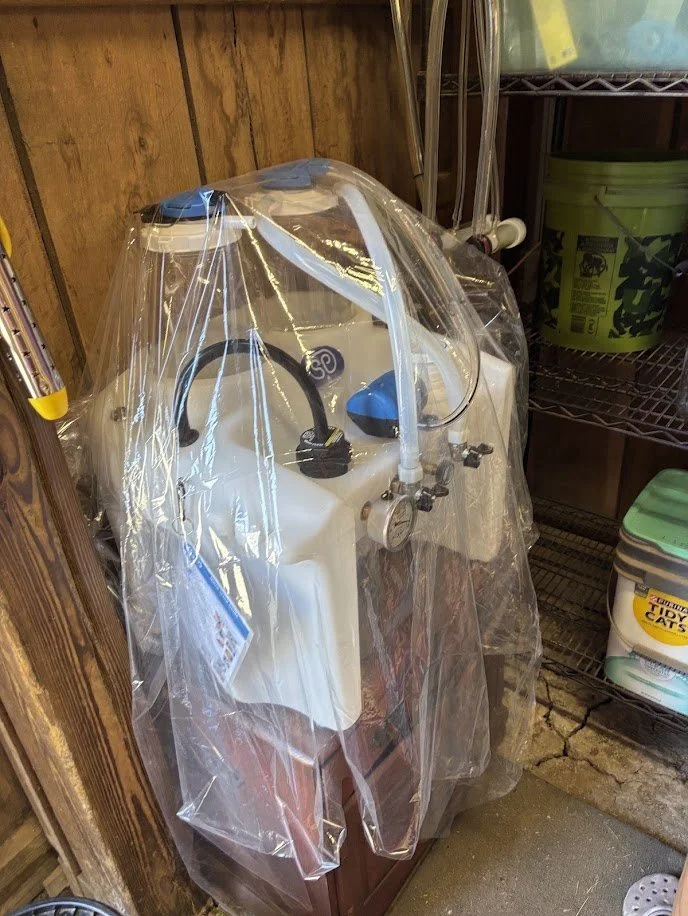
If you've just received your machine, first wash the jars, inflations, hoses, and any other parts that touch the milk. Follow the included instructions to assemble. (It is easier than it looks upon first glance.) Use the photo below to match your machine to this set up.
Step 2: Sanitize Everything That Will Touch Milk
Before every milking, I make sure every milk-contact surface is clean. Starting with clean equipment is one of the easiest ways to produce high-quality milk for your family. (We clean at the end of every milking and cover it between uses so that it is ready to go every time.)
Step 3: Prepare your cleaning materials
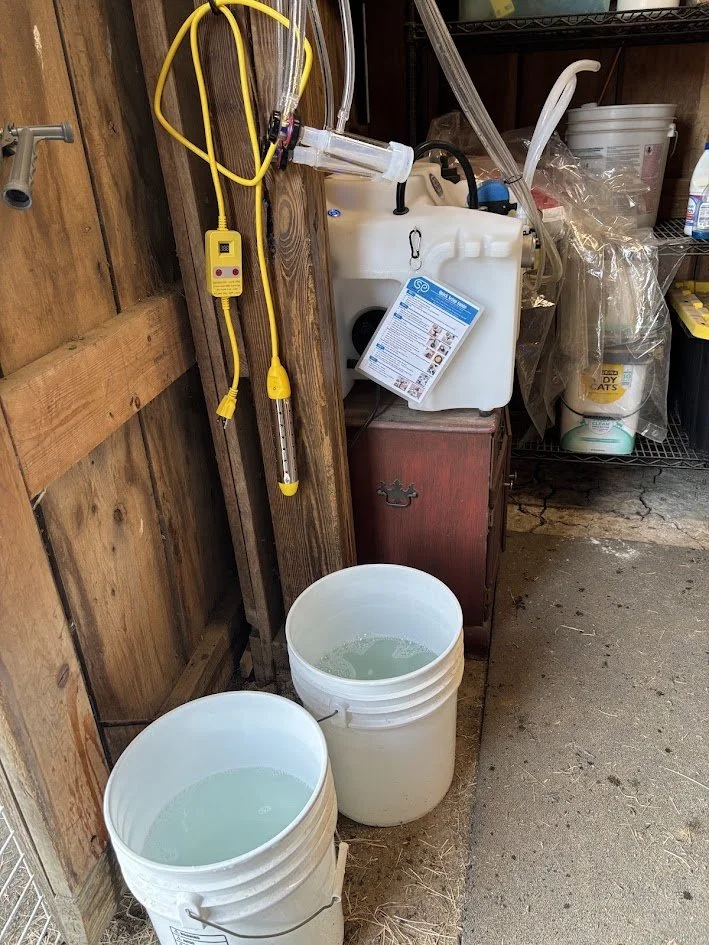
Two Food Grade Buckets - One with Dishsoap water and one with bleach water
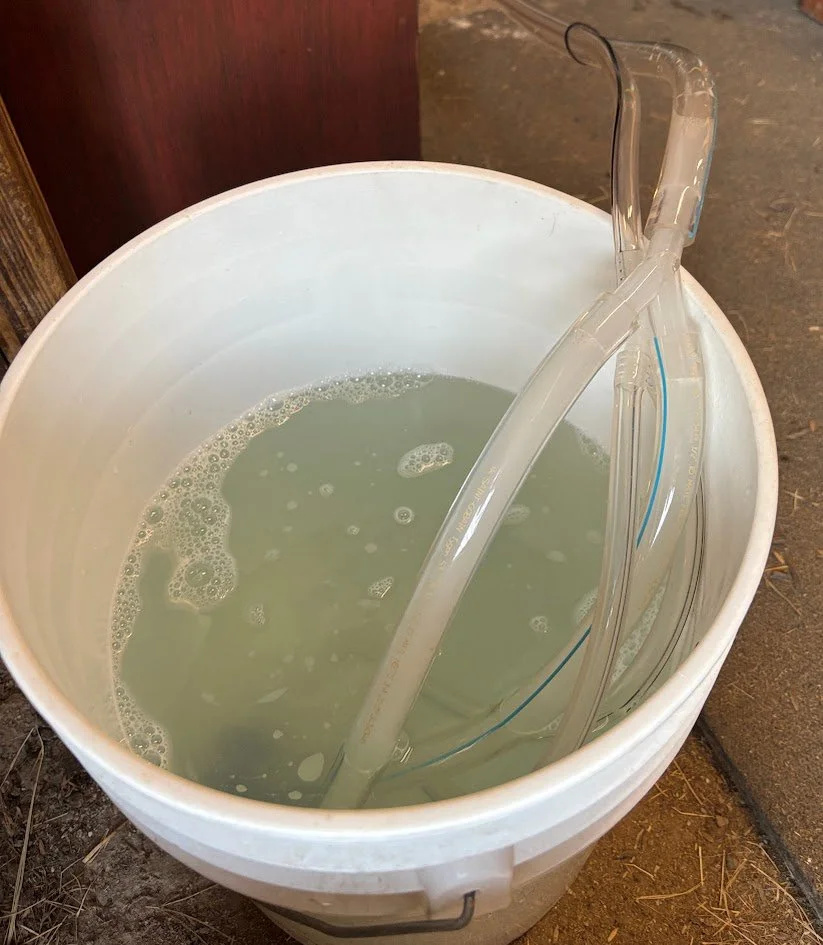
We don’t have running water in our barn (yet) so we keep two food grade buckets next to the machine. One has water and dishsoap and the other is a diluted bleach solution. (1-2 tablespoons of dish soap and about a cup of bleach per fresh bucket of water)
We use a small bucket heater that I got on Amazon for $30. Plug it in, submerge in the bucket and set your temperature (see below) then I let that heat up while going through the next steps.
Water Temperatures for Cleaning
Use lukewarm water between 100°F and 110°F (38°C to 43°C).
Why it matters:
Cold water (below 93°F) makes milk fat solidify and stick tothe equipment.
Water that is too hot (above 120°F) cooks and bakes milk proteins onto the surfaces.
Washing: Use lukewarm soapy water in your first bucket to scrub and pull through the system.
Sanitizing/Final Rinse: Follow up with bleach water or clean rinse water according to your daily routine.
Step 4: Prep Your Girls
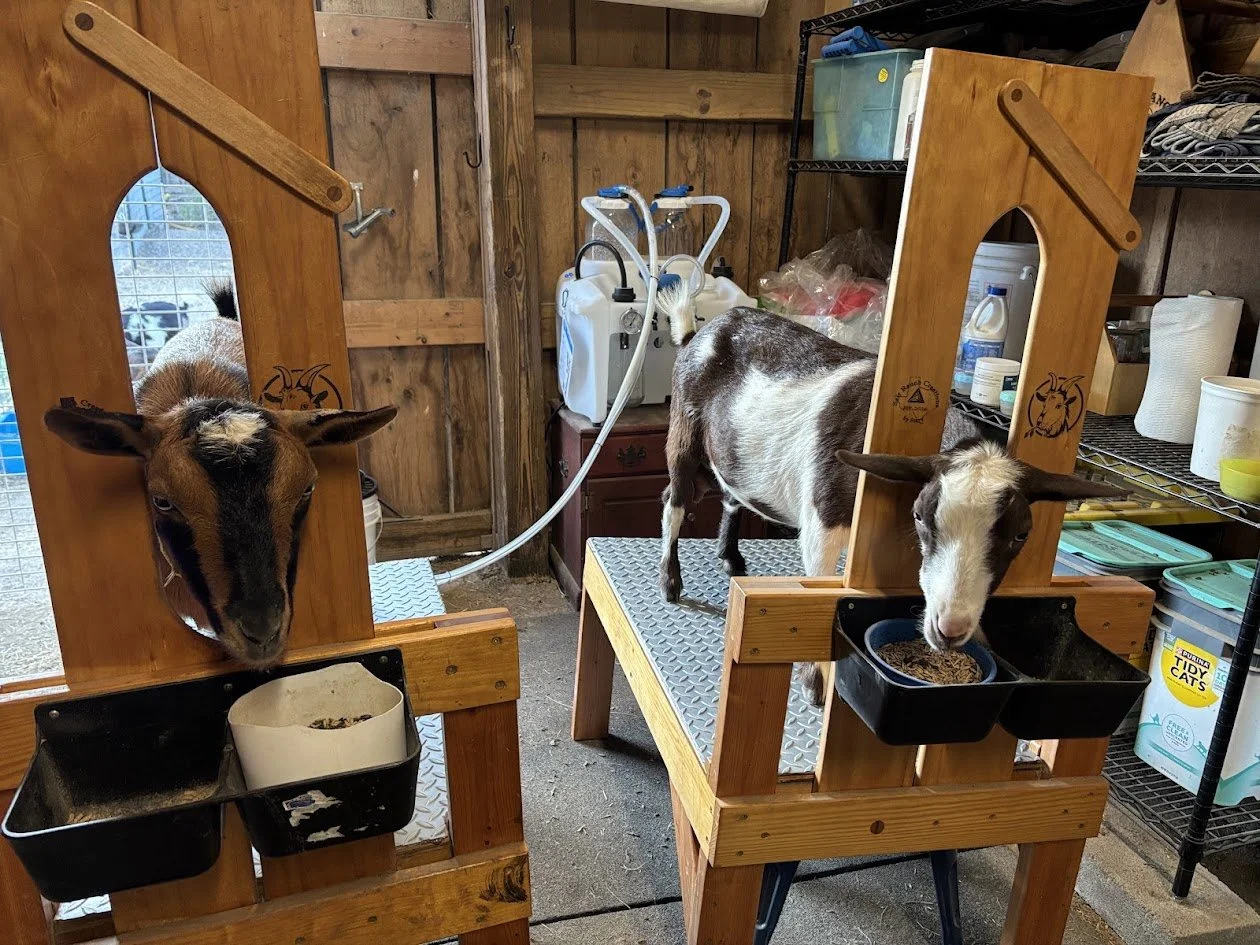
Routine matters. My girls fight to get to the milk stand. I have two stands that I use when milking - this means I don’t have more goats than I can handle, and I can prep/finish one while the other one is milking. Speeds up my process tremedously.
Prepare their landing: I load each stand with a cup of goat feed and about three cups of oats mixed with sunflower seeds or any other supplements I feel they need. I let one in first, prep and pre-squeeze her (see next step) then once I get her started, I let in the second to prep while doe 1 is being milked.
Wash, Prime and Inspect the Udder: I use a spray that we make here to clean the udder and dry thoroughly.
Before attaching the machine, I strip a few streams of milk from each teat into the paper towel I used for drying. This removes any bacteria and lets me check for any clumps, strings, or abnormalities that could indicate mastitis before the milk enters my collection jar.
Step 5: Turn on the Machine
Switch on the vacuum pump and allow the machine to build vacuum. Once the pulsator begins its steady clicking, it's ready to use. Check that your vacuum gauge is set within the range recommended by Simple Pulse—generally around 10–12 inches of mercury (Hg) for goats.
Step 6: Attach the Inflations
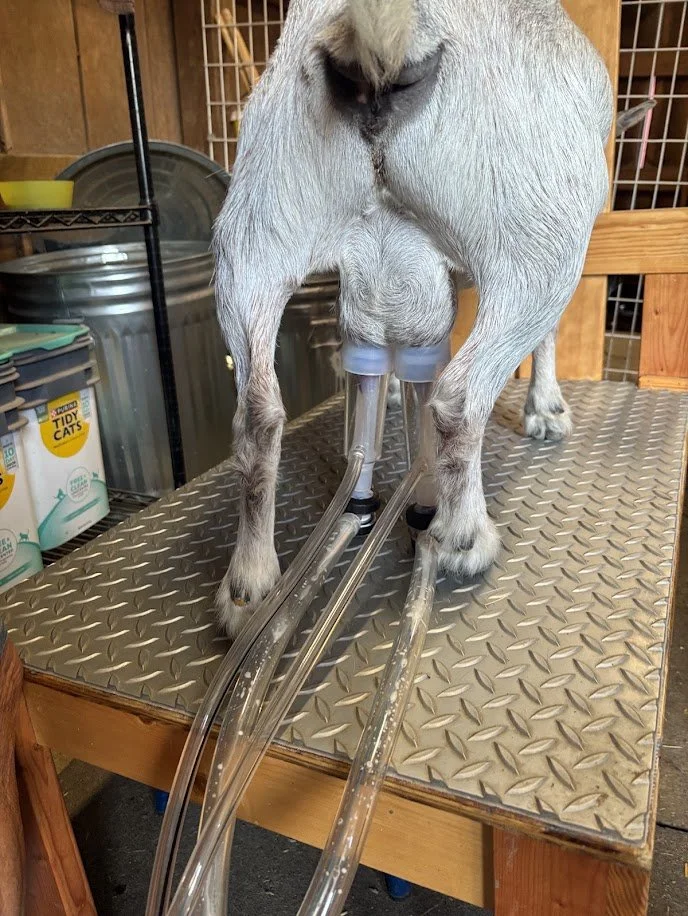
With one hand, gently support the udder while placing each inflation over the teat. A good seal should form almost immediately.
If one cup slips off, don't panic. Simply wipe the inflation clean if needed, and reattach it.
Step 7: Let the Machine Do the Work
Now comes the best part!
Monitor the milk flow. This is when I start to prepare the next for milking by going through step 3 with the next goat.
Most of my miniature dairy goats finish milking in just a few minutes, giving me between 2-4 cups per milking.
Step 8: Know When She's Finished
Watch the milk line rather than the clock.
When milk flow slows to just an occasional drip, it's time to remove the inflations. Avoid leaving the machine on after the udder is empty, as unnecessary vacuum on the teats can cause discomfort. (If it does, they will let you know and likely kick it off anyway!)
Step 9: Finish by Hand
Even the best machine usually leaves behind a small amount of milk. I always hand-strip each teat a few times after removing the inflations - you can milk right into the inflations. It only takes a few seconds and helps completely empty the udder and encourage milk production.
Step 10: Filter, Chill, and Clean
The grade of the milk is partially determined by how fast you cool it, and the beauty of the Simple Pulse is that it can filter as you milk, so all you need to do is pour it into smaller storage jars and pop in the fridge. This is also awesome because hairs and particles are never in contact with the milk as when you milk into a pail. The loose hairs don’t fall into the bucket and there is no risk of them sticking their feet into your pail, or dirt getting into your milk, which has always made me shudder.
It is important to clean the machine immediately. Fresh milk residue is much easier to remove than dried milk (which is very difficult to get out of those hoses.)
This is SO easy with this machine. Close the supply valve to your milk jar, swap your hose from one lid to the other, turn on your supply valve to your cleaning jar and drop your inflators into the hot water bucket.
I let the hoses completely fill up from bottom to top and let it run for a few more seconds to be sure that the dishwater touches every surface inside my hoses, then move your inflators to the other bucket with your bleach solution and do the same thing.
Then close your supply valve, remove the hose from your cleaning collection jar and put it on your exhaust for a minute or two to dry out your hoses.
Hang your hoses and inflators, take your jars to the house to empty clean and return, cover the system with a tarp/blanket/cover of some sort to keep it clean and you are done!
(Simple Pulse provides a cleaning procedure and recommends regular deep cleaning of the system, along with routine maintenance of filters and gaskets.)
My Final Thoughts
After years of believing that hand milking was simply "part of the job," I wish I had made this investment sooner.
Not because I'm milking dozens of goats.
Not because I wanted fancy equipment.
But because I wanted to keep enjoying my goats without the compounding physical toll that milking was taking on my body.
If you're experiencing sore hands, wrist pain, or simply feeling burned out by your milking routine, a Simple Pulse machine may be one of the best investments you can make for your homestead. It hasn't replaced the part I love most—the quiet mornings with my girls—but it has made those mornings faster, easier, and much kinder to my body.
And for me, that's been a true game changer.
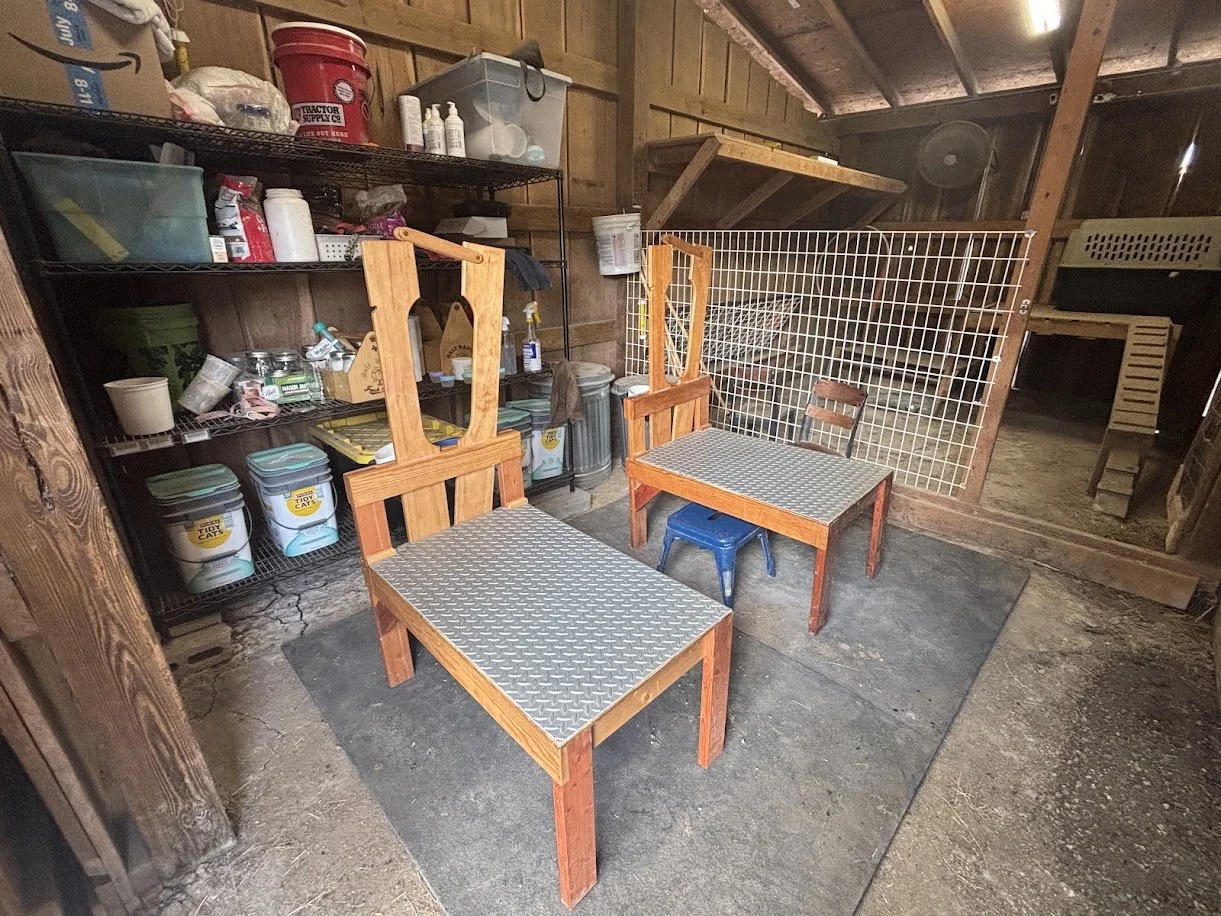
My milking room before Simple Pulse