

Makeover - China Hutch to Coffee Station
Our house, built in 1990, came with dated… well… everything and 30 years of deferred maintenance. We started our remodeling with just handling the maintenance issues, which were extensive, and finishing what seemed a very incomplete kitchen.
Here is a before photo of the kitchen - we seemed to be missing a bank of cabinets, and an island. It was quite ugly, but the layout was good and the cabinets were solid oak.

Our 1990 designed kitchen
My husband and I are hoity toity about our coffee and this layout was just screaming for a coffee station. We put together this temporary set up to see what we needed in terms of functionality. This was after removing the wallpaper and DIY wainscoting and moving the light switch to a more reasonable location. Isn’t it just lovely!?
Then, of course - like any other motivated homeowner - I scoured Pinterest for ideas.
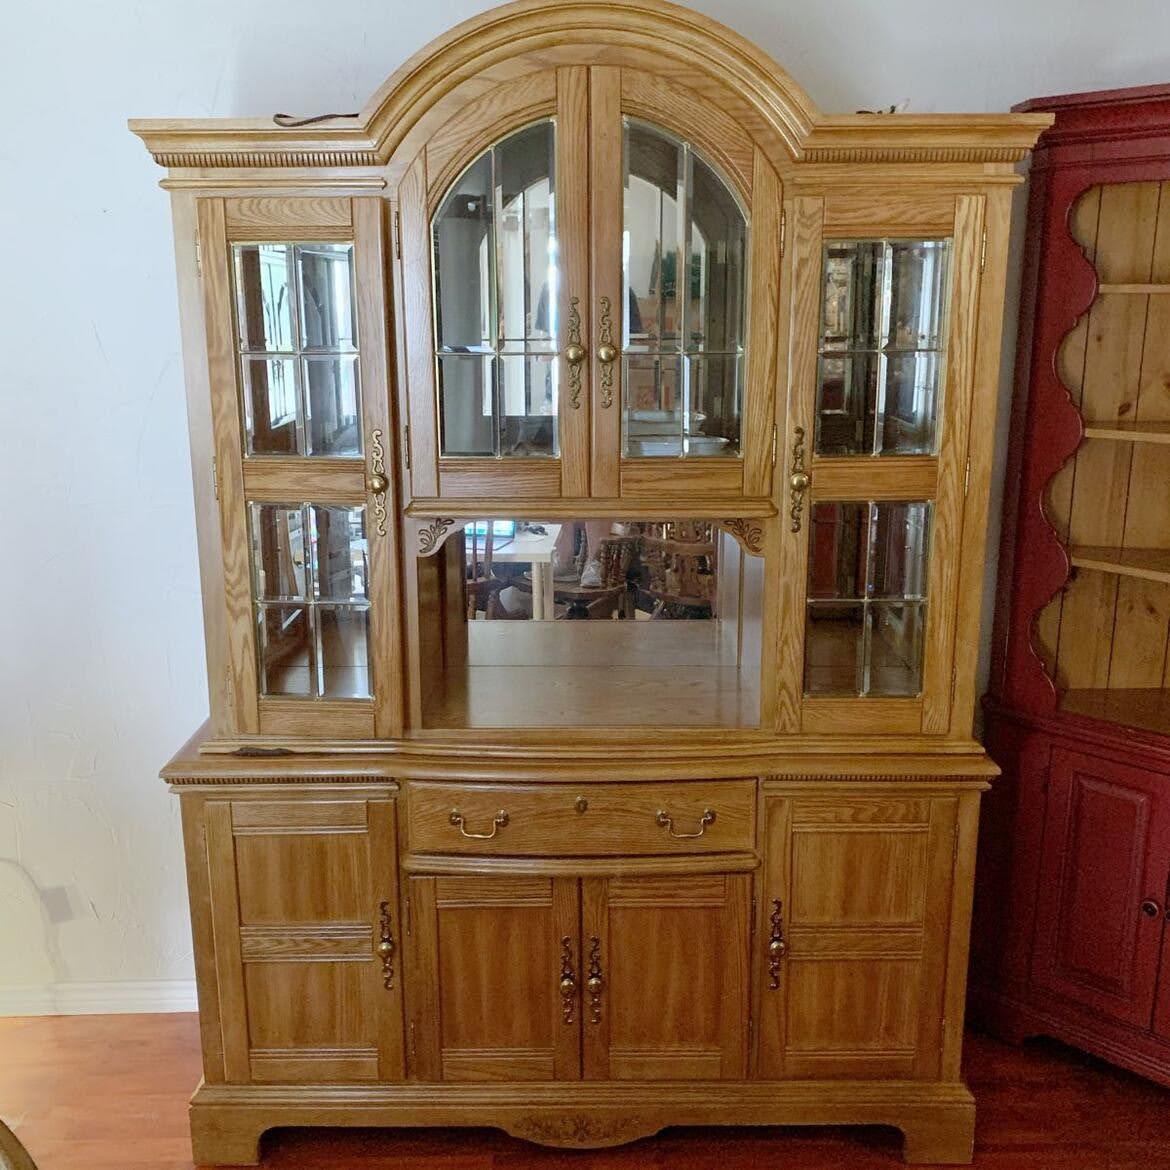
I created my idea board and then started shopping. I found this beauty on Craigslist for $85.
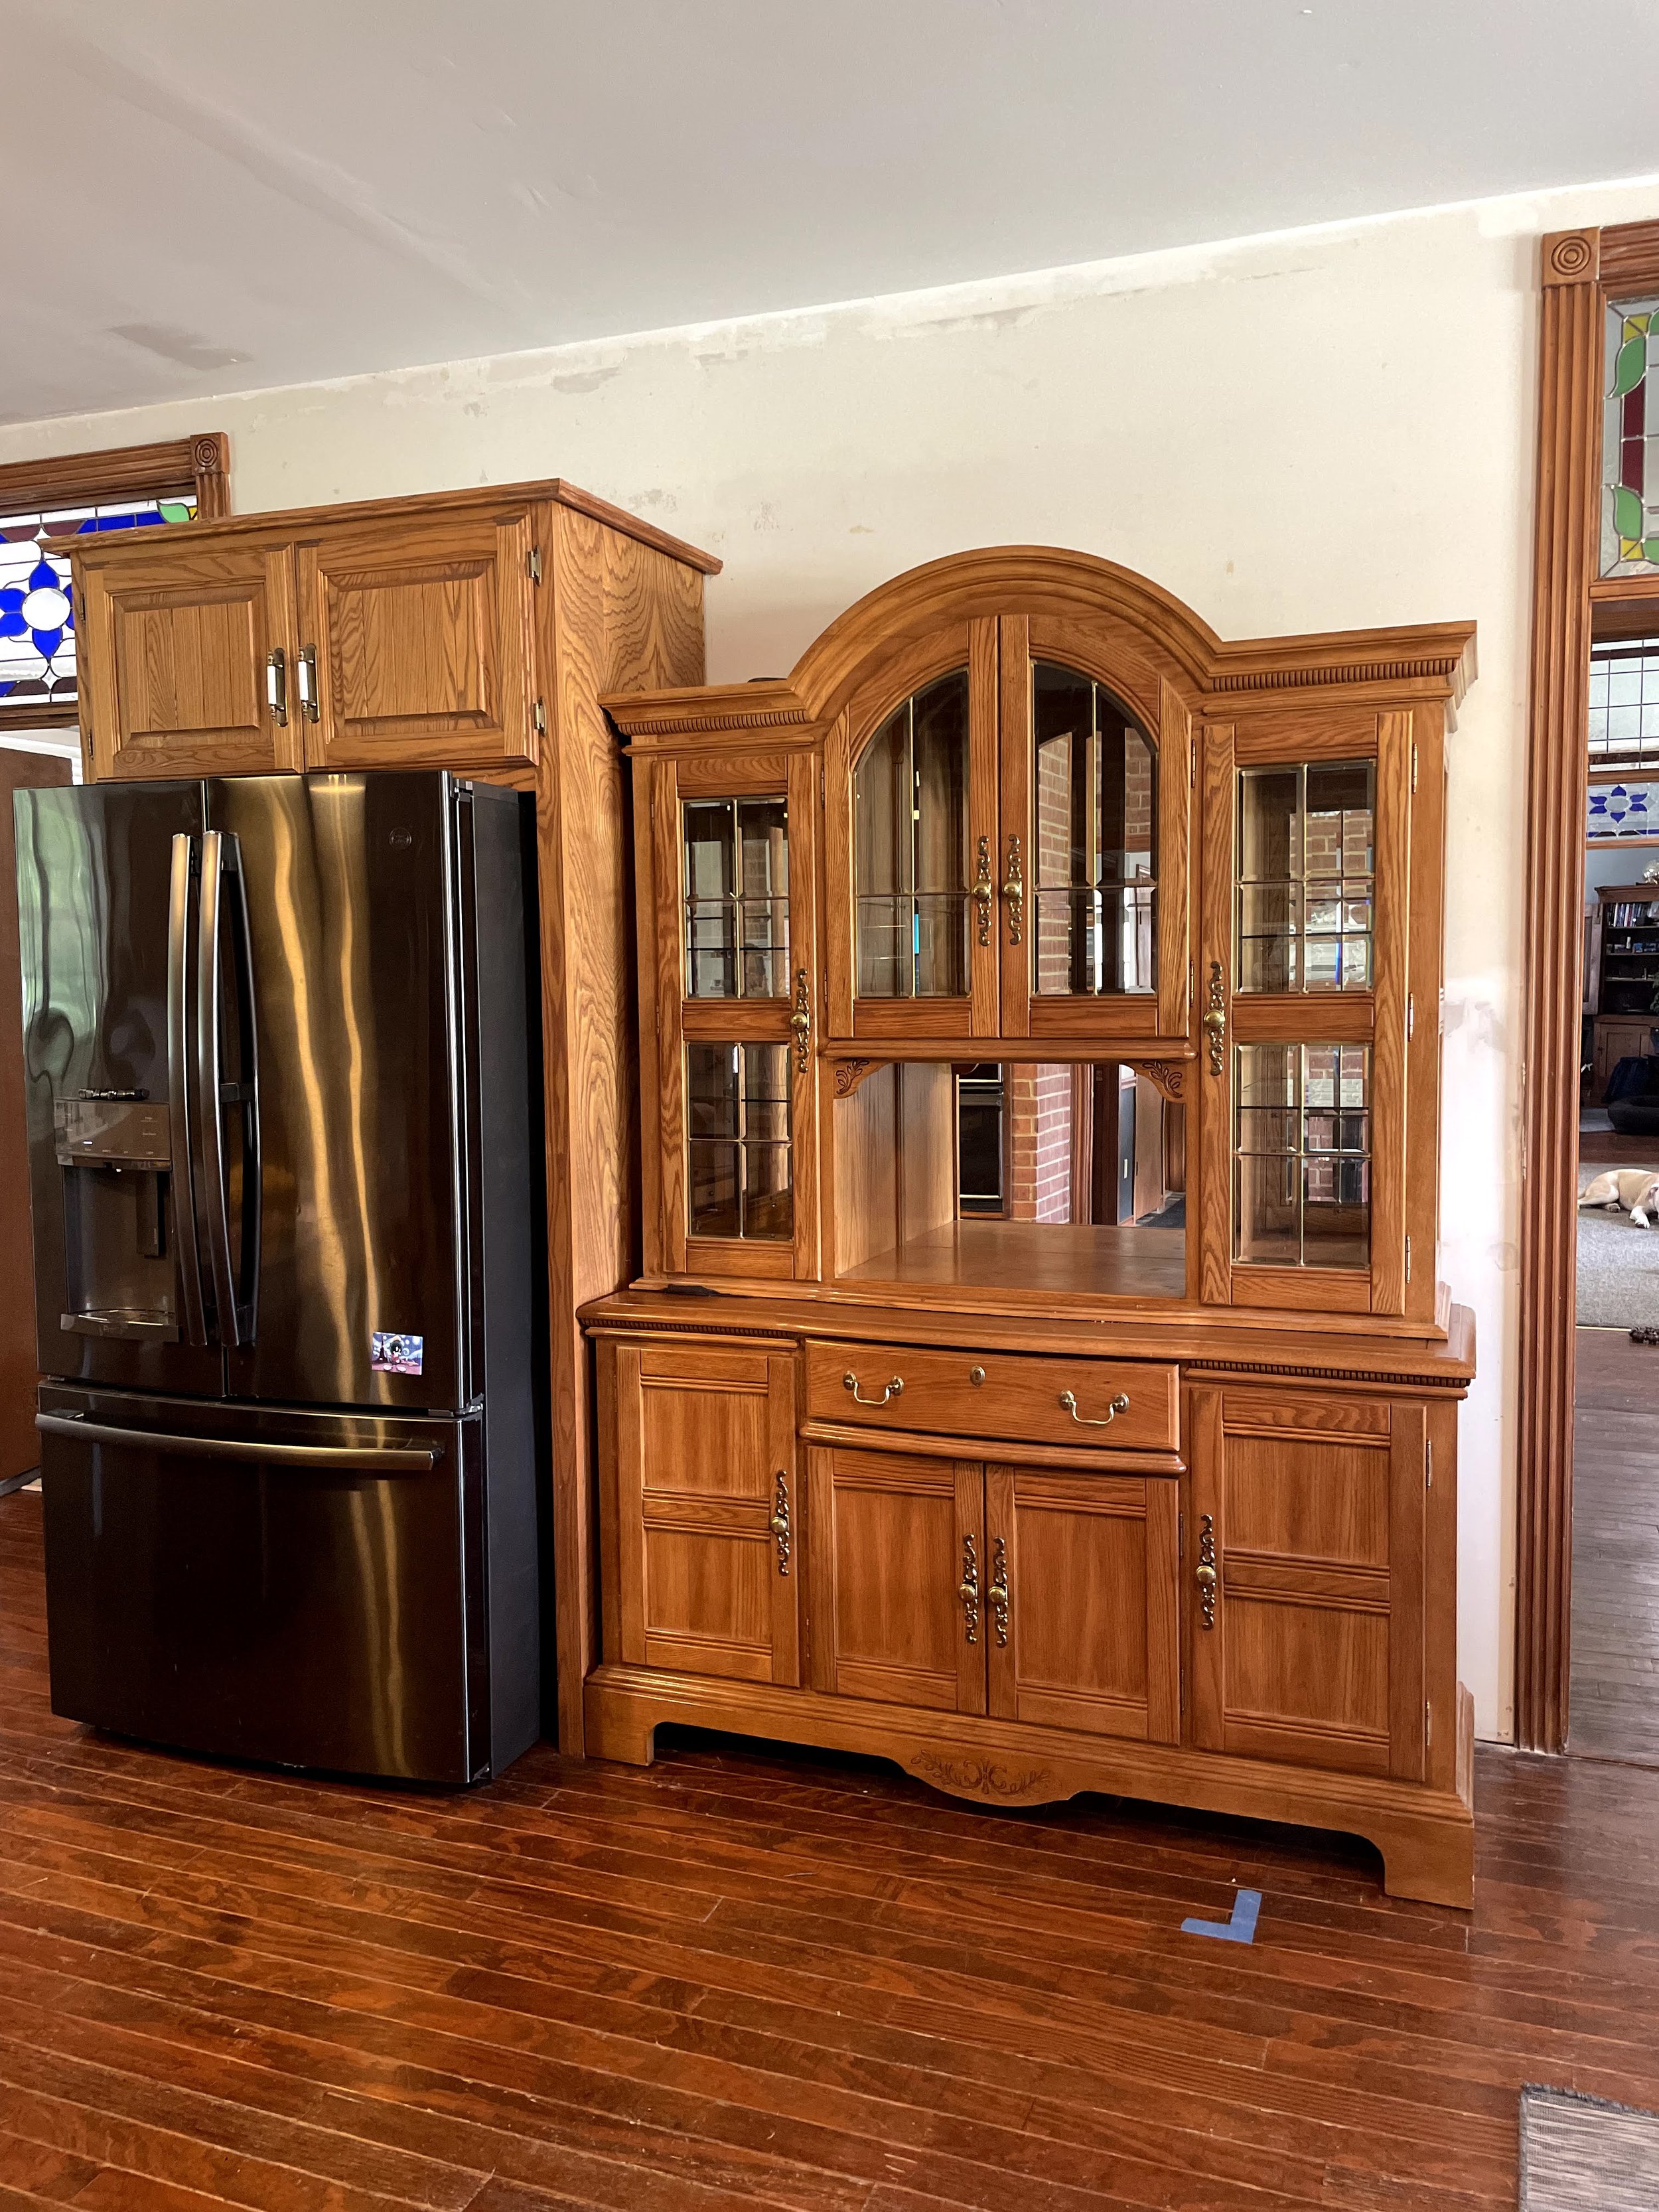
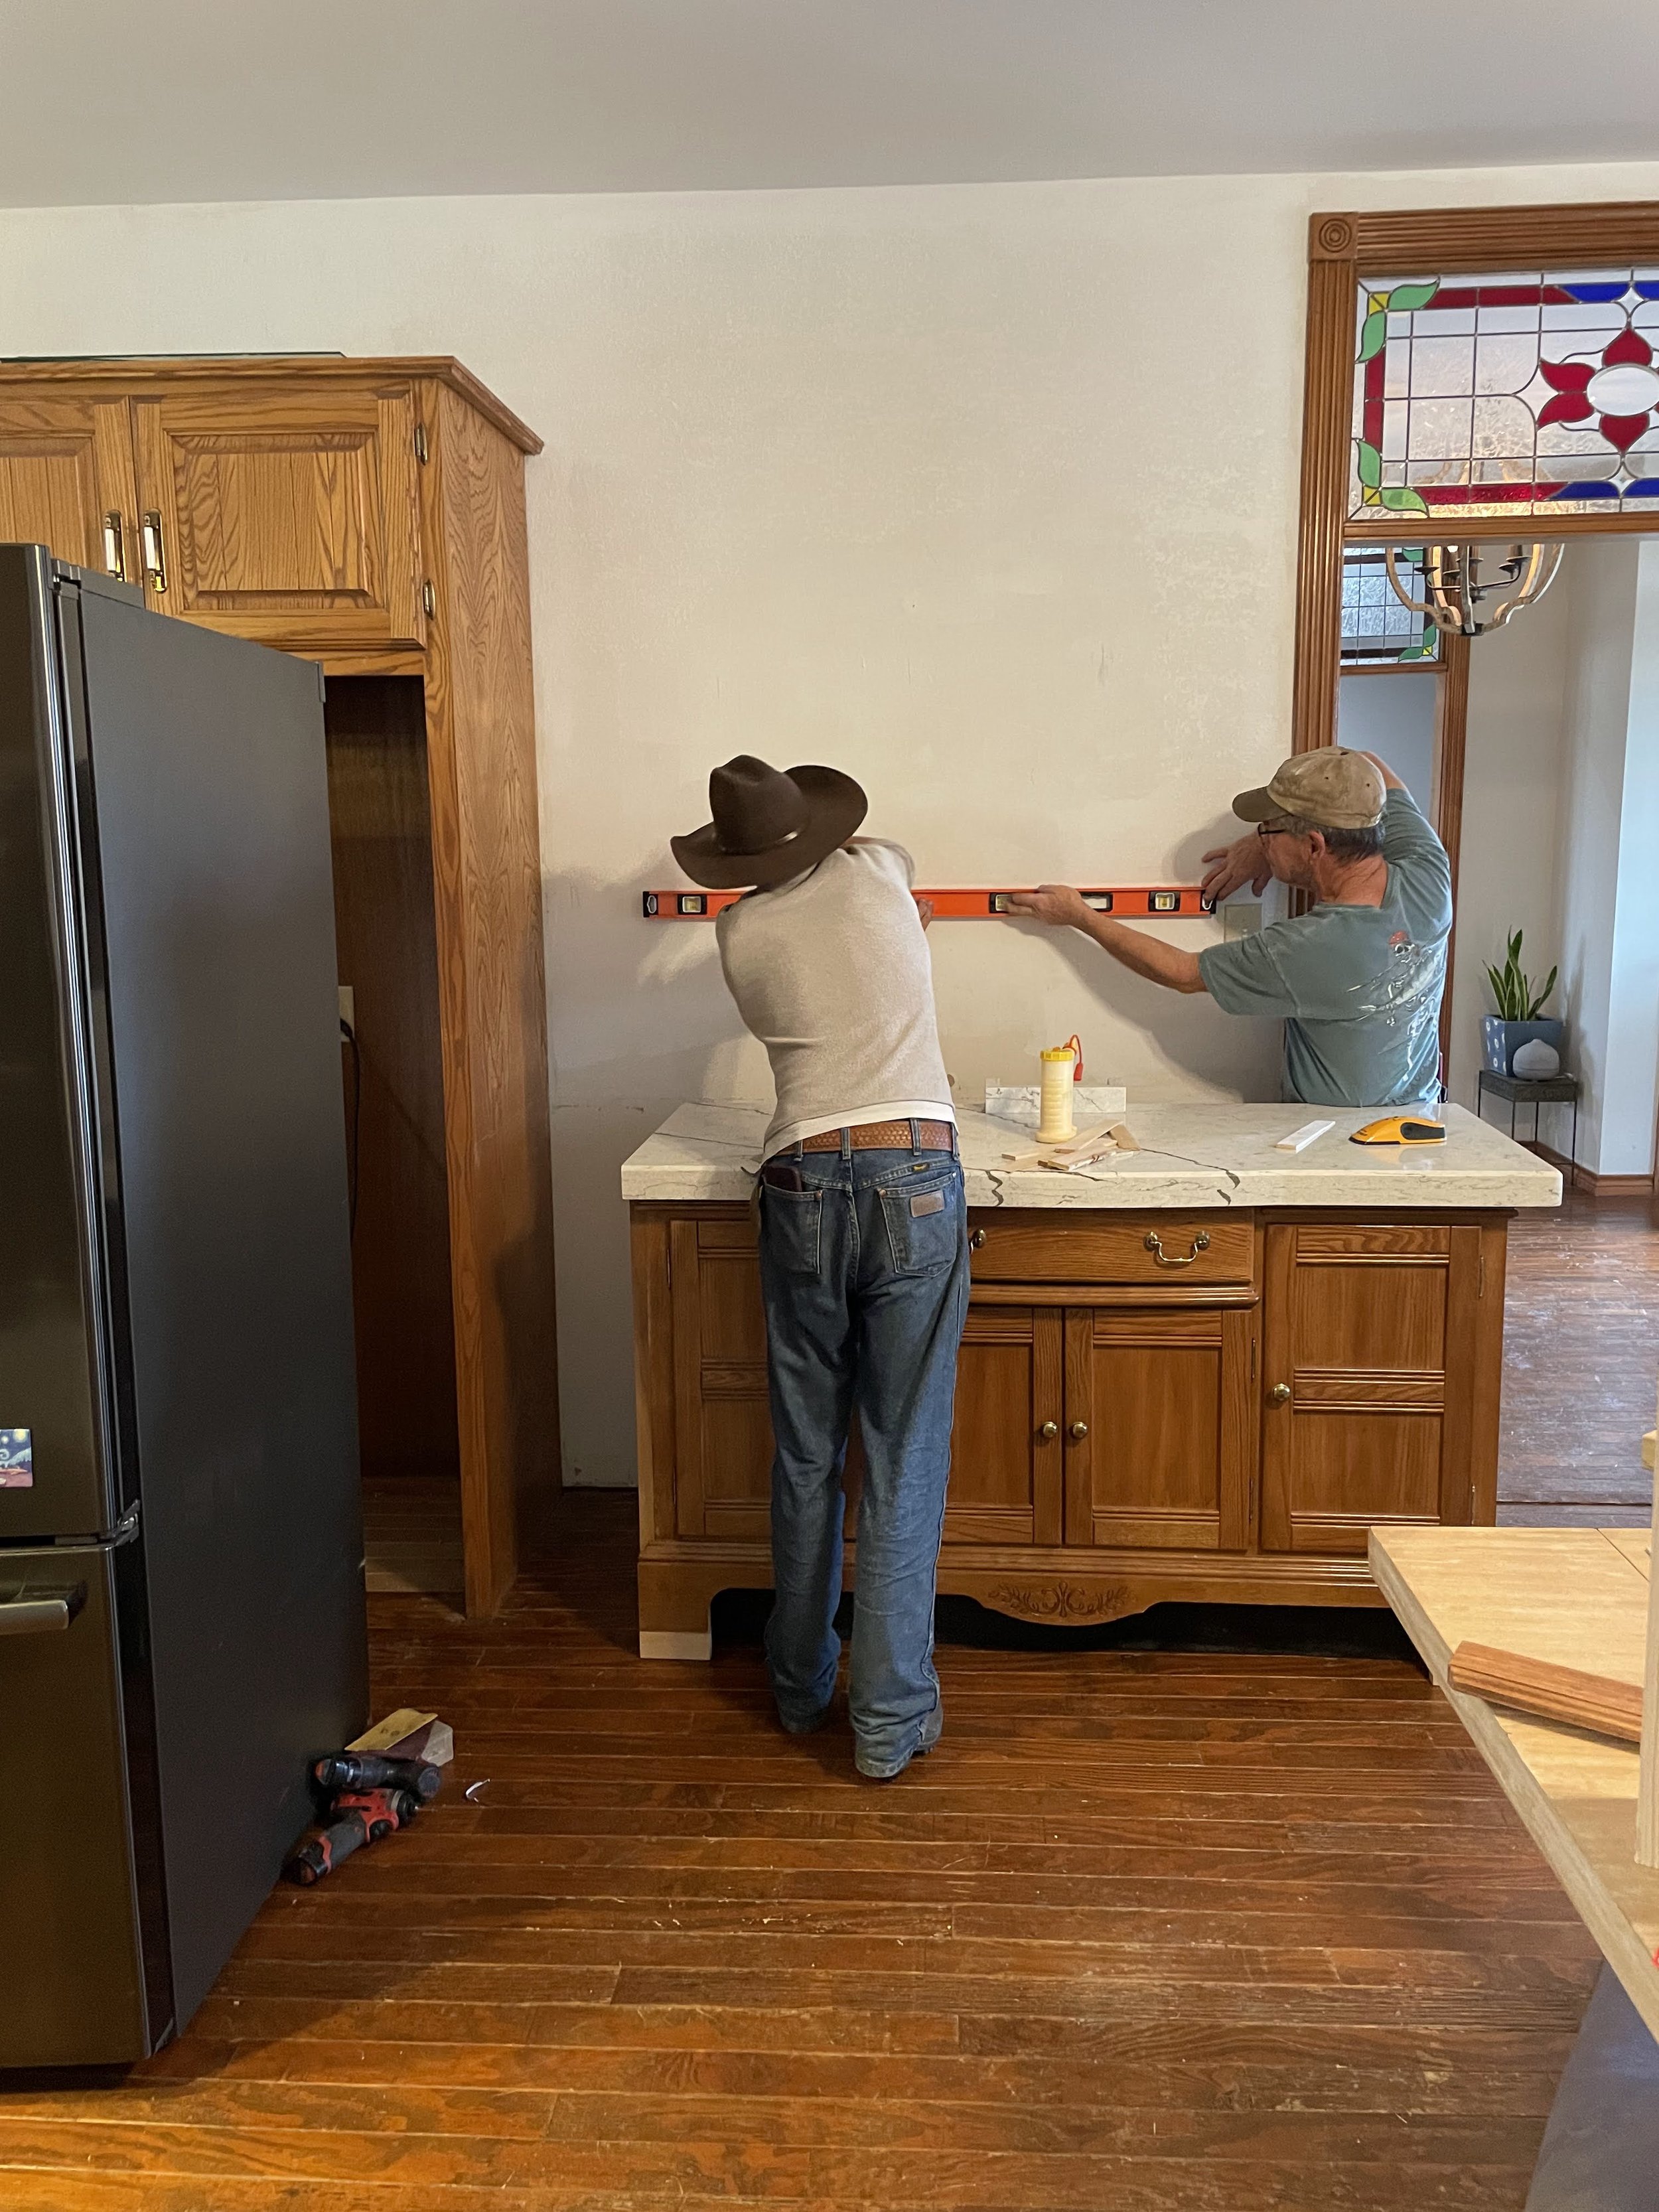
I knew with a little magic we could make it into something awesome. Dad is quite a skilled craftsman, and was up to the task! We measured and planned, measured and cut, measured and installed.
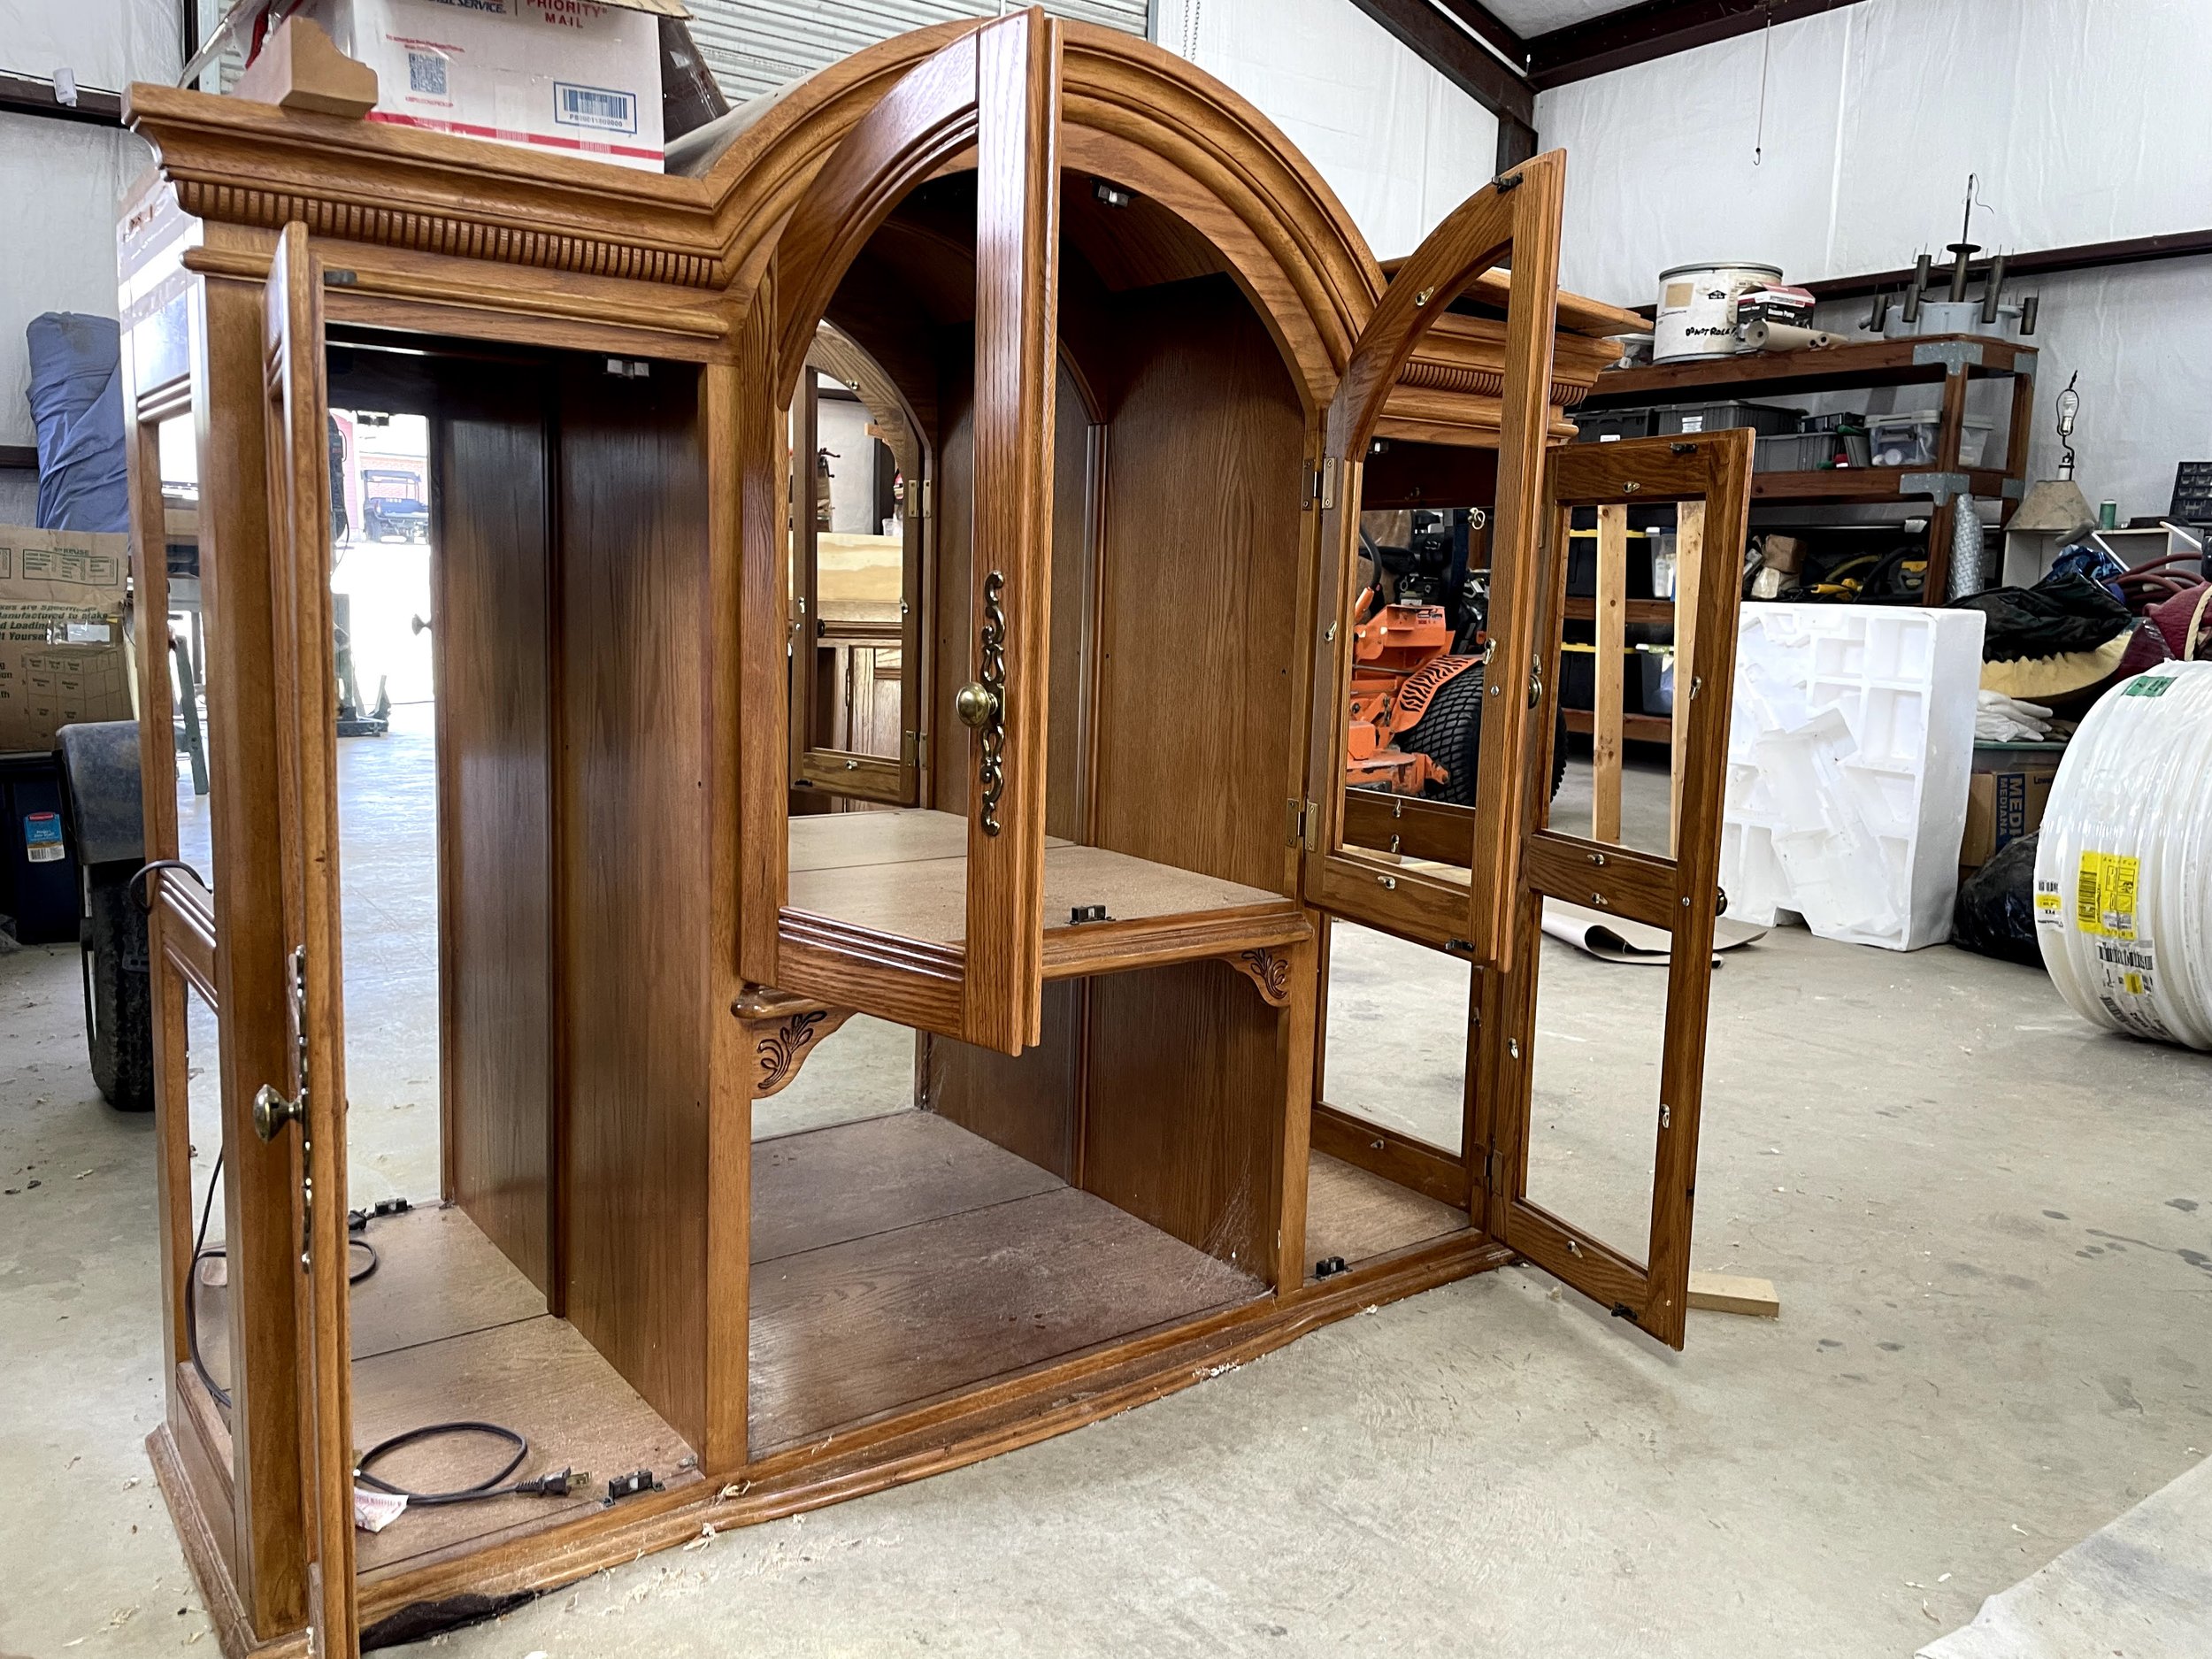

Dad (Salt Ranch Creations by Steve) fabricated new left side extensions to allow it to attach seamlessly to the fridge cabinet. He added strips of wood on the left edge of both top and bottom pieces, and modified the trim pieces to end softly over top of the added wood extensions.
The base got a lift of about three inches and was pulled away from the wall about 4 inches so that it would be the same depth as the counters in the rest of the kitchen. This required fabricating longer legs, a toe kick, and pulling the detail off of the hidden side of the cabinet to extend the exposed side to the wall. The hutch was lifted about 18 inches and mounted to the wall. This required the same extension on the left side and a matching trim piece around the bottom where it had originally sat on top of the base. A panel cut to size finished off the underside so that what was now visible would look clean and neat. He created a support and routed out a detail along the bottom edge it to blend in with the piece.
A custom ordered quartz counter top with a lip was fabricated on site to match the rest of the new kitchen countertops going in at the same time.
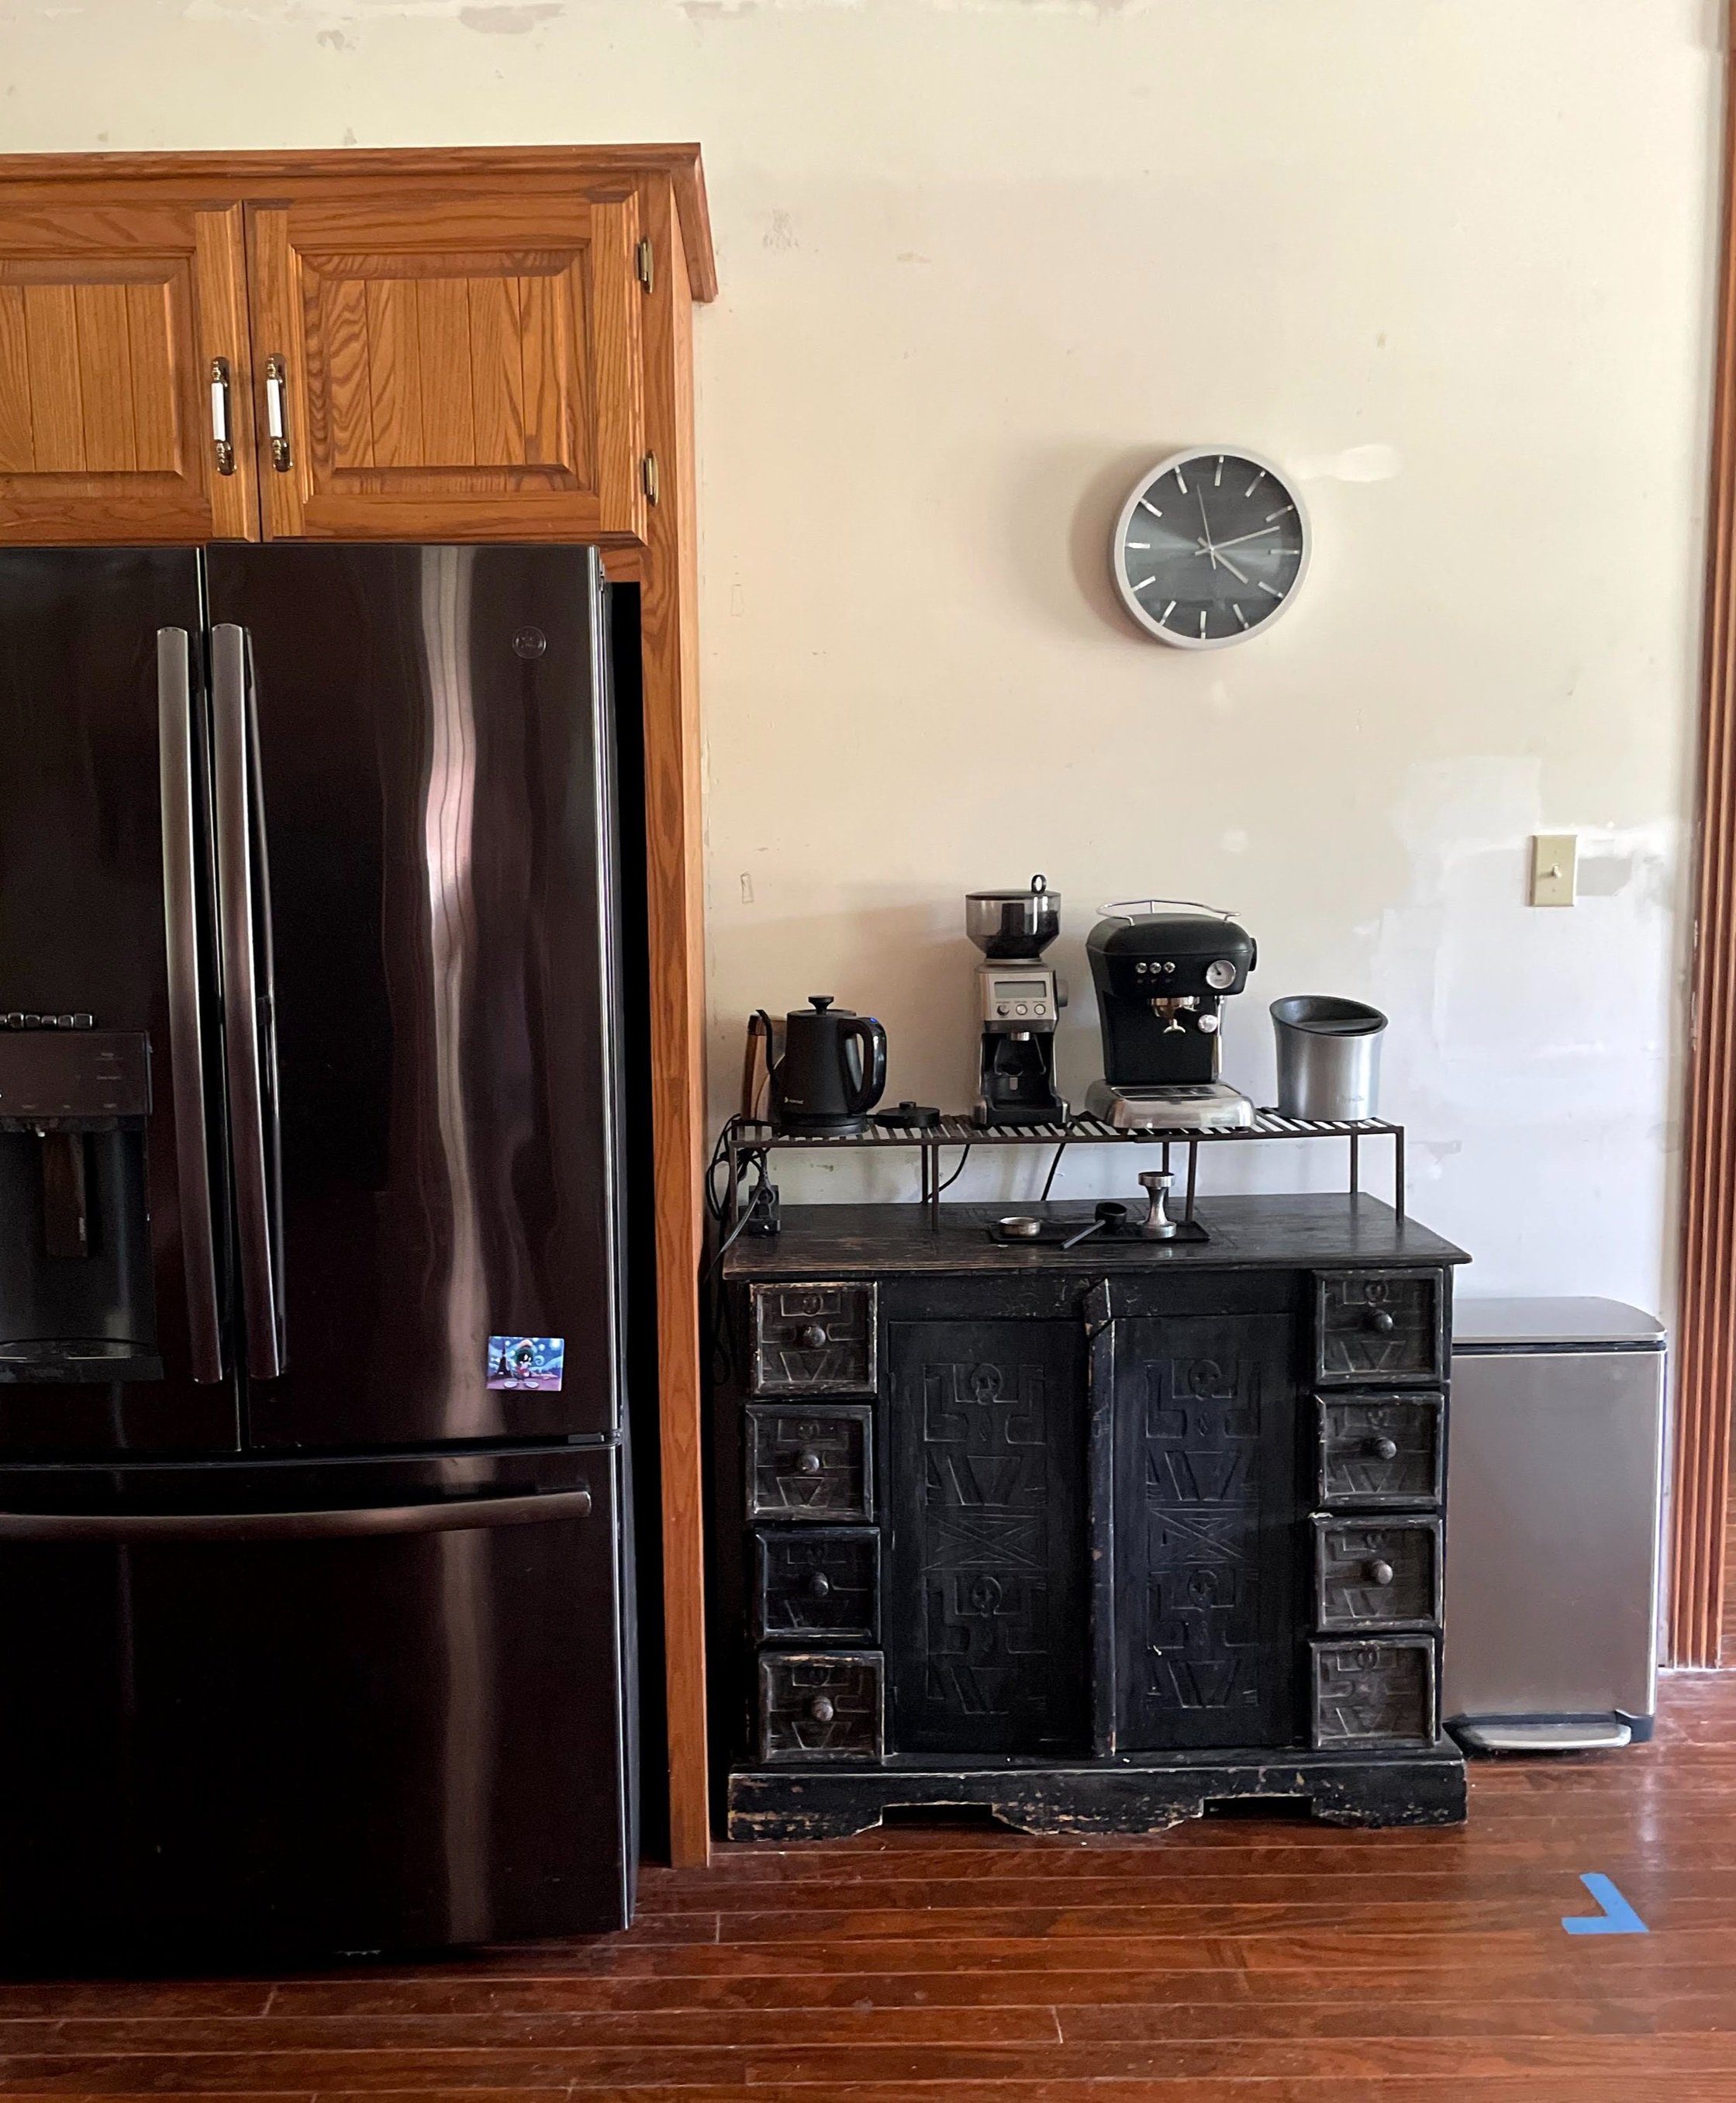
The almost finished piece looked great! It happened to match the wood on the existing cabinetry almost perfectly, so Dad stained all of the detailing to match and it fit right in - good thing because it took about a year to have it painted.
The glass in the doors was “leaded” with brass, so I used a copper paint pen and covered all of the brass with a copper finish. (It has been like this for about a year, and it is holding up beautifully.)
Below is how it looked for awhile - I had new knobs in mind, but was waiting for the rest of the kitchen to be completed to order them.
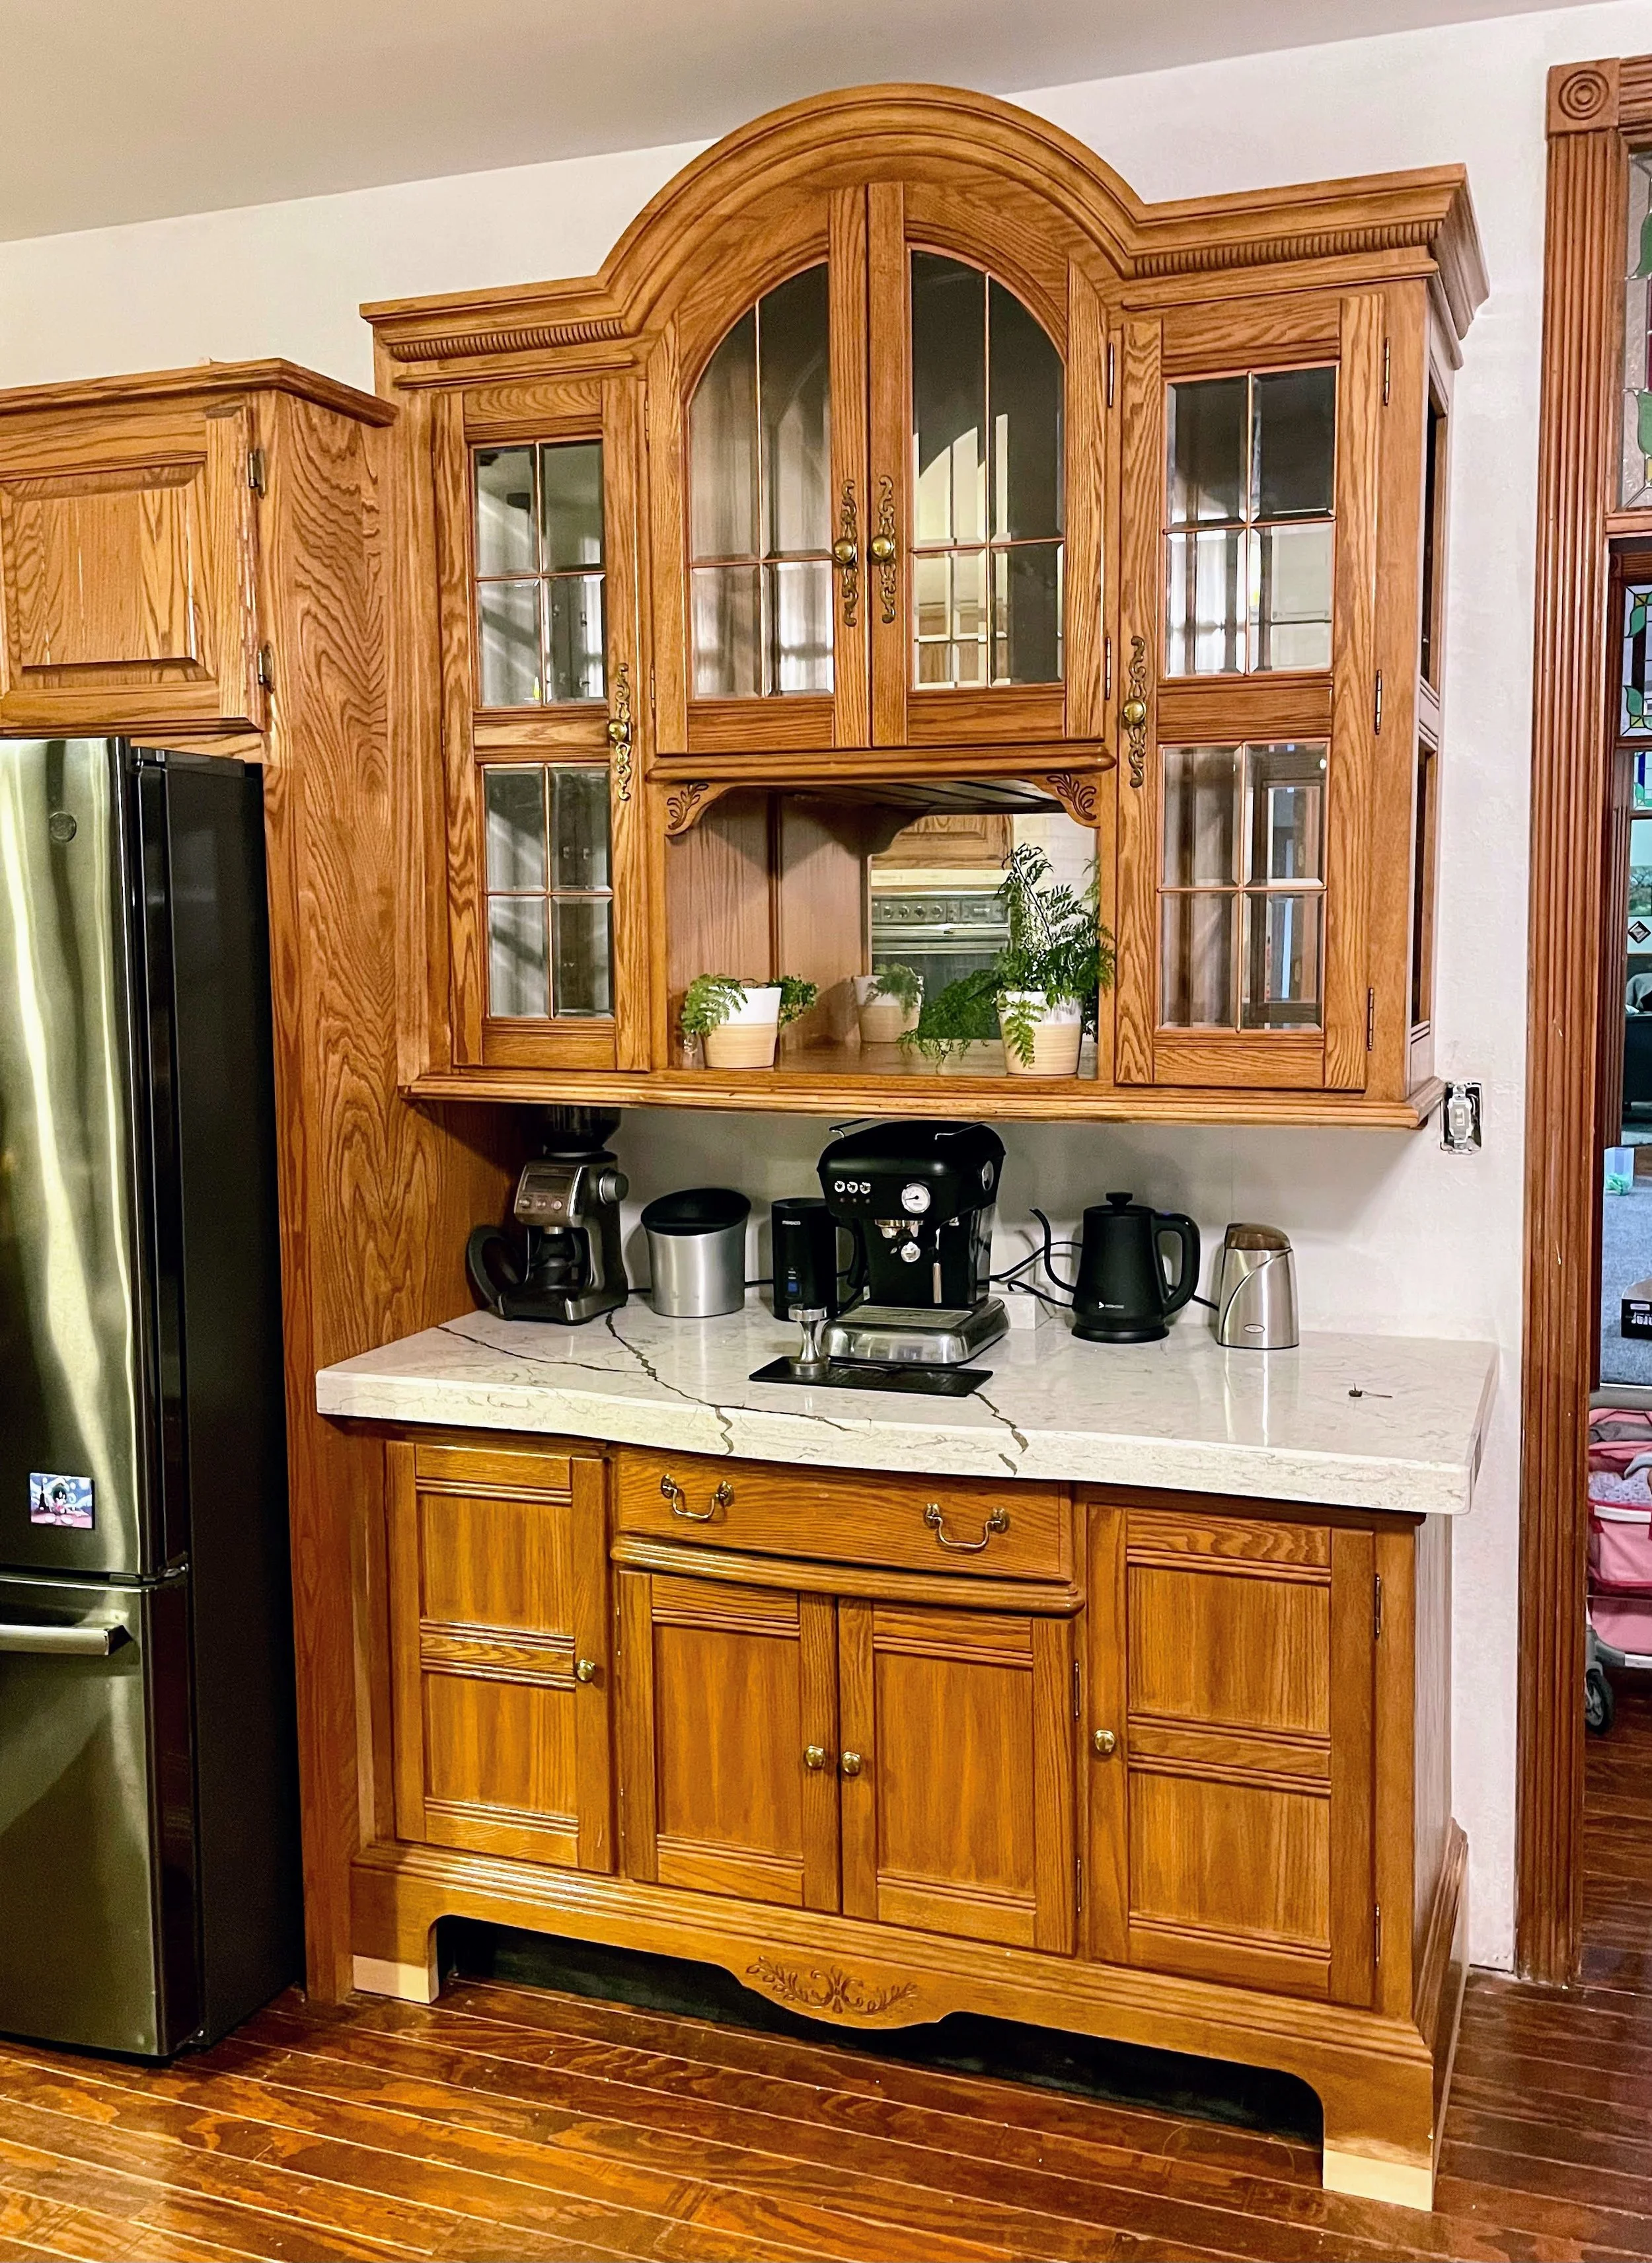
The final step (quite a while later) was to add under cabinet lighting, paint the entire piece and then add new hardware.
Here is the end result. Before and After… I am so thrilled with the outcome - as I am with the entire kitchen remodel that I will share soon!

A lot of magical things happened in this kitchen, stay tuned for the rest!
